
Certificate-based authentication of Azure Automation accounts
Before you can manage Azure services with Azure Automation, you need to authenticate the Automation account against a subscription. This authentication process is part of each runbook. There are two different ways to authenticate against an Azure subscription:
- Active Directory user
- Certificate
If you want to use an Active Directory account, you have to create a credential asset in the Automation account and provide username and password for that Active Directory account. You can retrieve the credentials using the Get-AzureAutomationCredential cmdlet. This cmdlet returns a System.Management.Automation.PSCredential object, which can be used with Add-AzureAccount to connect to a subscription. If you want to use a certificate, you need four assets in the Automation account: A certificate and variables with the certificate name, the subscription ID and the subscription name. The values of these assets can be retrieved with Get-AutomationVariable and Get-AutomationCertificate.
Prerequisites
Before you start, you need a certificate. This certificate can be a self- or a CA-signed certificate. Check this blog post from Alice Waddicor if you want to start with a self-signed certificate. I used a certificate, that was signed by my lab CA.
At a Glance:
- self- or CA-signed certificate
- Base64 encoded DER format (file name extension .cer) to upload it as a management certificate
- PKCS #12 format with private key (file name extension .pfx or .cer) to use it as an asset inside the Automation account
Upload the management certificate
First, you must upload the certificate to the management certificates. Login to Azure and click “Settings”.
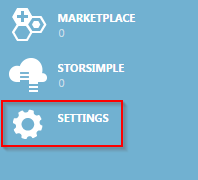
Patrick Terlisten/ vcloudnine.de/ Creative Commons CC0
Click on “Management Certificates”
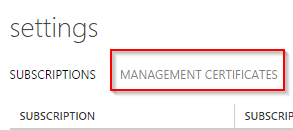
Patrick Terlisten/ vcloudnine.de/ Creative Commons CC0
and select “Upload” at the bottom of the website.
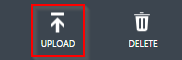
Patrick Terlisten/ vcloudnine.de/ Creative Commons CC0
Make sure that the certificate has the correct format and file name extension (.cer).
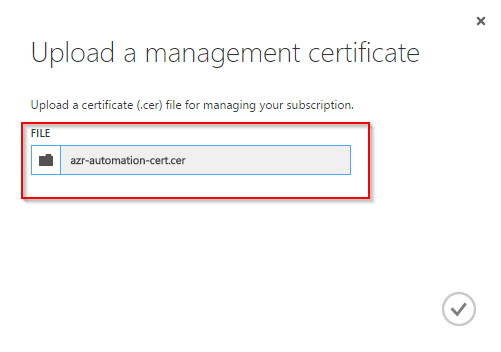
Patrick Terlisten/ vcloudnine.de/ Creative Commons CC0
Finish the upload dialog. After a few seconds, the certificate should appear in the listing.
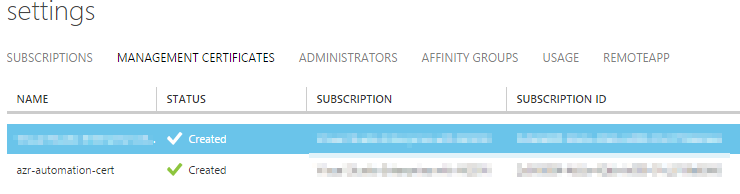
Patrick Terlisten/ vcloudnine.de/ Creative Commons CC0
Create a new Automation account
Now it’s time to create the Automation account. Select “Automation” from the left panel.
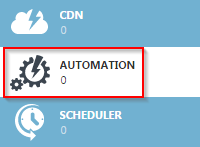
Patrick Terlisten/ vcloudnine.de/ Creative Commons CC0
Click on “Create an Automation account”.
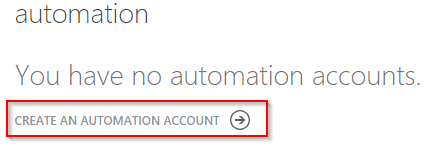
Patrick Terlisten/ vcloudnine.de/ Creative Commons CC0
Give your Automation account a descriptive name and select a region. Please note that an Automation account can manage Azure services from all regions!
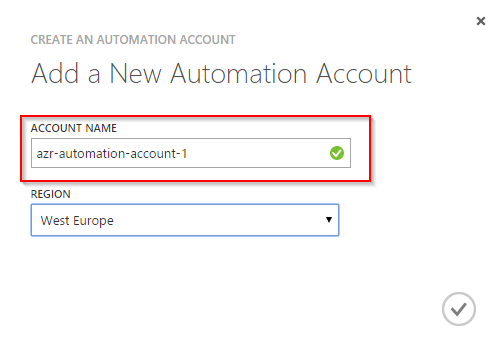
Patrick Terlisten/ vcloudnine.de/ Creative Commons CC0
Click on the newly created account and click on “Assets”.

Patrick Terlisten/ vcloudnine.de/ Creative Commons CC0
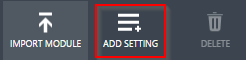
Select “Add setting” from the bottom of the website.
Patrick Terlisten/ vcloudnine.de/ Creative Commons CC0
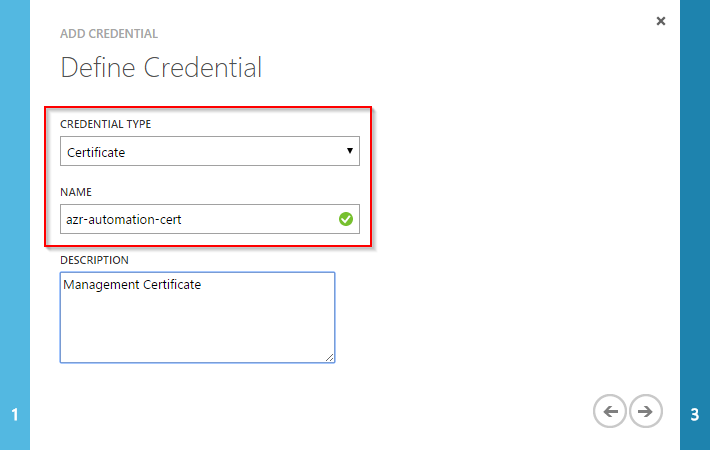
Add a credential asset by choosing “Add credential” and select “Certificate” as “Credential type”.
Patrick Terlisten/ vcloudnine.de/ Creative Commons CC0
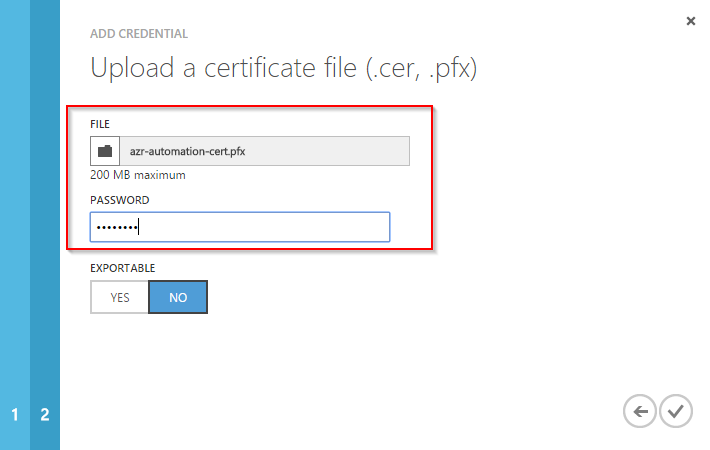
Enter a descriptive name for the certificate. You should remember this name. You will need it later. Now you have to upload the certificate. The certificate must have the file name extension .pfx or .cer and it must include the private key!
Patrick Terlisten/ vcloudnine.de/ Creative Commons CC0
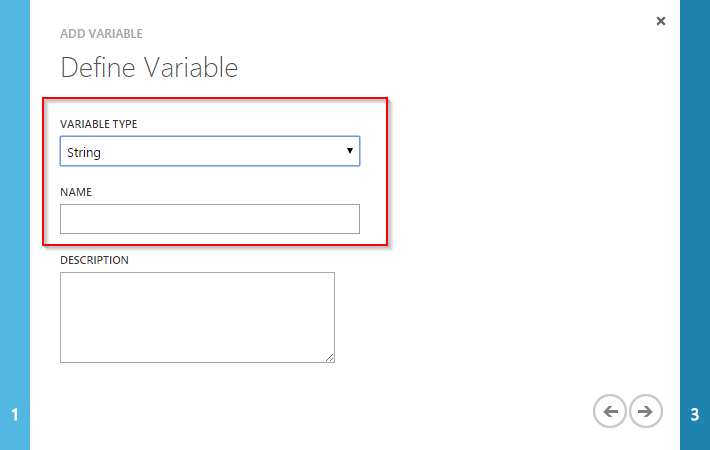
Finish the upload of the certificate. Now add three additional assets (variables).
Patrick Terlisten/ vcloudnine.de/ Creative Commons CC0
Select the name, the value and the type from the table below. The name of the certificate is the descriptive name, you’ve previously entered when uploading the certificate.
| Name | Value | Type |
|---|---|---|
| AutomationCertificateName | Name of your certificate | String |
| AzureSubscriptionName | Name of your subscription | String |
| AzureSubscriptionID | 36 digit ID of the subscription | String |
Done. You’ve uploaded and created all the required certificates and variables.
How to use it
To use the certificate and the variables to connect to an Azure subscription, you have to use the two cmdlets Get-AutomationCertificate and Get-AutomationVariable. I use this code block in my runbooks:
$AzureSubscriptionName = Get-AutomationVariable -Name "AzureSubscriptionName"
$AzureSubscriptionID = Get-AutomationVariable -Name "AzureSubscriptionID"
$AutomationCertificateName = Get-AutomationVariable -Name "AutomationCertificateName"
$CertificateName = Get-AutomationCertificate -Name $AutomationCertificateName

Set-AzureSubscription -SubscriptionName $AzureSubscriptionName -SubscriptionId $AzureSubscriptionID -Certificate $CertificateName
Select-AzureSubscription $AzureSubscriptionName
Works like a charm.
Summary
Certificate-based authentication is an easy way to authenticate an Automation account against an Azure subscription. It’s easy to implement and you don’t have to maintain users and passwords. You can use different certificates for different Automation accounts. I really recommend this, especially if you have separate accounts for dev, test and production.
All you need is to upload a certificate as a management certificates, and as a credential asset in the Automation account. You can use a self- or CA-signed certificate. The subscription ID, the subscription name and the name of the certificate are stored in variables.
At the beginning of each runbook, you have to insert a code block. This code block takes care of authentication.