
Deploying HP StoreVirtual VSA - Part I
I would like to thank Calvin Zito for the donation of StoreVirtual NFR licenses to vExperts. This will help to spread the knowhow about this awesome product! If you are not a vExpert, you can download the StoreVirtual VSA for free and try it for 60 days. If you are a vExpert, ping Calvin on Twitter for a 1y NFR license.
This blog post covers the deployment of the current StoreVirtual VSA release (LeftHand OS 11). A second blog post covers the configuration using the CMC. Both posts are focused on LeftHand OS 11 and VMware vSphere. If you are searching for a deployment and configuration guide for LeftHand OS 9.x or 10 on VMware vSphere, take a look at this two blog posts from Craig Kilborn: Part 1 – How To Install & Configure HP StoreVirtual VSA On vSphere 5.1 & Part 2 – How To Install & Configure HP StoreVirtual VSA On vSphere 5.1. Another blog post that covers LeftHand OS 11 is from Hugo Strydom. Hugo wrote about what he did with his VSA (vExpert : What I did with my HP VSA). I wrote a blog post about the HP StoreVirtual VSA some weeks ago. If you are interested in some basics about the VSA, check my mentioned blog post.
Preamble
The deployment process has been simplified. The setup wizard did a good job at my lab, but AFAIK there are problem if you use distributed Switches in your lab. If you are affected, please leave a comment or ping me via Twitter. But before we start the setup wizard, we have to think about the goals of our setup. There are some things, that we need to consider. The deployment process can be divided into tree steps:
- Planning
- Deployment
- Configuration
Planning the installation
Before you start, you should have a plan. There are some things you should consider.
vSwitches: We have to design and configure the virtual switches (vSwitches) and port groups. The vSwitches should be dedicated to the VSA cluster and the accessing hosts. You should configure at least 2x 1 GbE for performance and redundancy as vSwitch uplinks. If the iSCSI initiators and all nodes of the VSA cluster are running on the same host, you can use a vSwitch with no uplinks. If you want to use jumbo frames, you need to configure the vSwitches, port groups and VMkernel ports accordingly. I recommend to use a dedicated iSCSI VLAN to separate the traffic.
IP addresses: Each VSA needs an ip address. I recommend to use two ip addresses: One for eth0 and one for eth1. eth0 will be used for management and must attached to a port group, that makes it possible to reach the interface. Either because you client is attached to the same port group, the traffic is routed or the physical client is in the same VLAN as the VSA. eth1 will be used for iSCSI. You also need an ip address for the cluster virtual ip address (cluster VIP). This address must be in the same subnet as the eth1 ip addresses of the VSA nodes. If you want to use multipathing for your iSCSI initiators, each initiator needs two ip addresses in the same subnet as the VIP and the VSA nodes.
Hostnames: Meaningful hostnames facilitate management. I named my VSA nodes vsa01.lab.local, vsa02.lab.local and vsa03.lab.local. Feel free to name you VSAs in another fashion. :)
Storage: A VSA node has a single disk for the OS. All other disks are attached to a seperate controller (when using VMware the Paravirtual SCSI adapter is used). Storage can be added as VMDK or RDM to a VSA node, beginning with SCSI 1:0 (first device on second controller). If you want to use Adaptive Optimization (AO), you should have 10% of the total capacity on SSDs. The VMDK or RDM should be RAID protected, so you should avoid the use of RAID 0. Disks can be hot-added, but not hot-removed. You need at least 5 GB, but a VSA can scale up to 50 TB.
CPU & Memory: CPU and memory resources have to be reserved. You should have at least two 2 GHz cores reserved for each VSA node. The memory requirements depend on the virtualized storage capacity. For 4 TB up to 10 TB you should have 7 GB RAM for each VSA node. If you want to use the same capacity with AO, you should have 8 GB RAM. For 500 MB up to 4 TB, you should have 5 GB RAM. This applies also when using AO. In a productional environment I strongly recommend to use CPU and memory reservation and not to run more than one VSA on a single host. This does not apply to a lab environment.
The deployment
I took some screenshots during the deployment of a VSA using the setup wizard. I ran the wizard on a Windows 8.1 client.
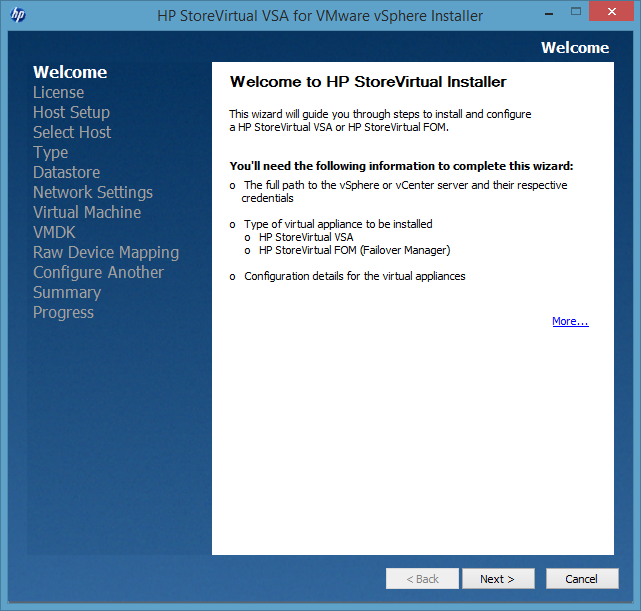
The setup file (HP_StoreVirtual_VSA_2014_Installer_for_VMware_vSphere_TA688-10518.exe) is self-extracting. After the extraction a CMD comes up asking you, if you want to use the GUI or CLI interface. I chose the GUI wizard. Unfortunately after pressing “2” for the GUI wizard, the wizard didn’t appeared. I had to run the setup file as administrator (right click the file, then choose “Run as administrator”). On the welcome page simply click “Next”.
Patrick Terlisten/ vcloudnine.de/ Creative Commons CC0
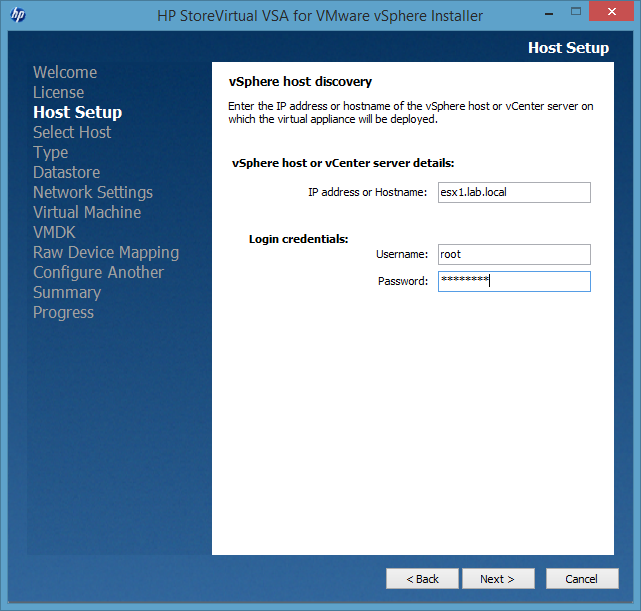
You have to provide hostname or ip address, and login credentials for the target ESXi host or the vCenter server. I chose a ESXi as target for my VSA deployment.
Patrick Terlisten/ vcloudnine.de/ Creative Commons CC0
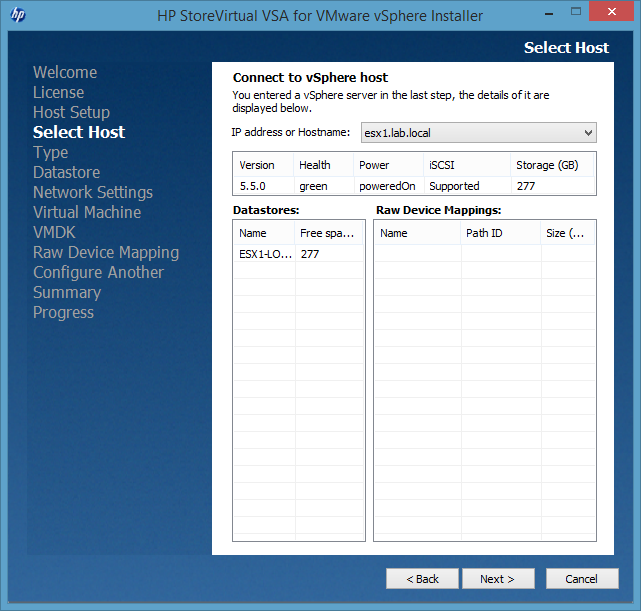
On the third page you get a summary of the host you chosen one step earlier.
Patrick Terlisten/ vcloudnine.de/ Creative Commons CC0
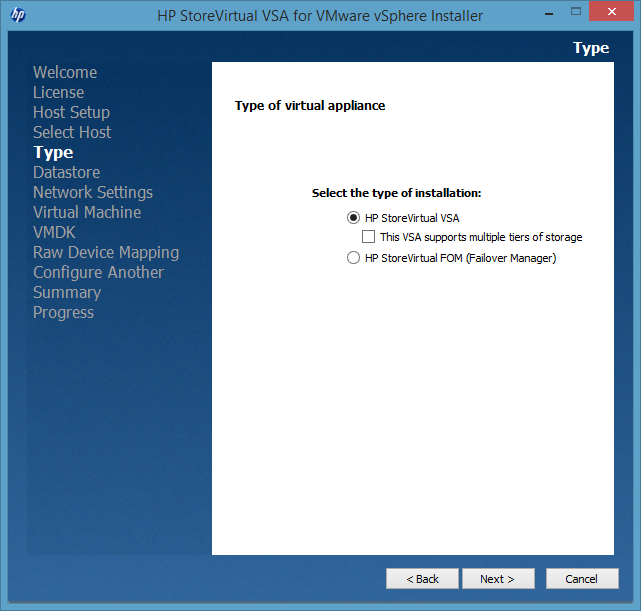
Now you can choose between deploying a VSA or a Failover Manager. The latter is a special manger used in clusters as a quorum tie-breaker. But we want to deploy a VSA.
Patrick Terlisten/ vcloudnine.de/ Creative Commons CC0
In the next step we have to chose a datastore in which the VSA should reside. This has no impact on the later configured storage.
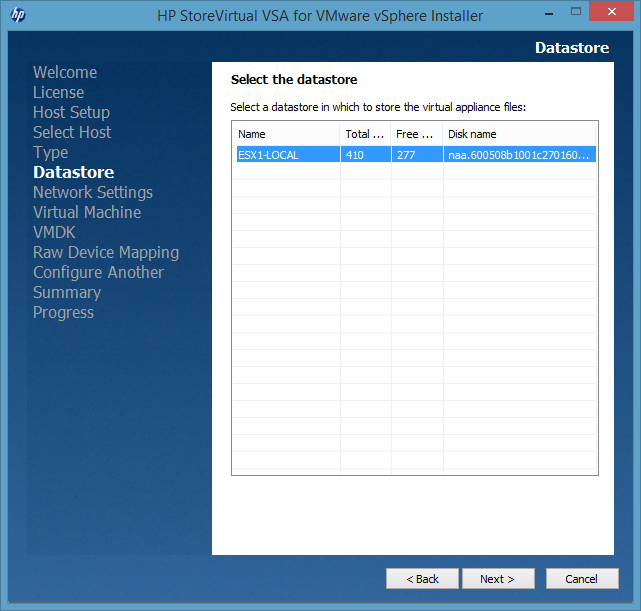
Patrick Terlisten/ vcloudnine.de/ Creative Commons CC0
The next step covers the NIC setup of the VSA. As I mentioned earlier I recommend to use two NICs for the VSA: One for management and a second one for iSCSI traffic. As you can see on the screenshot, I used eth0 for management.
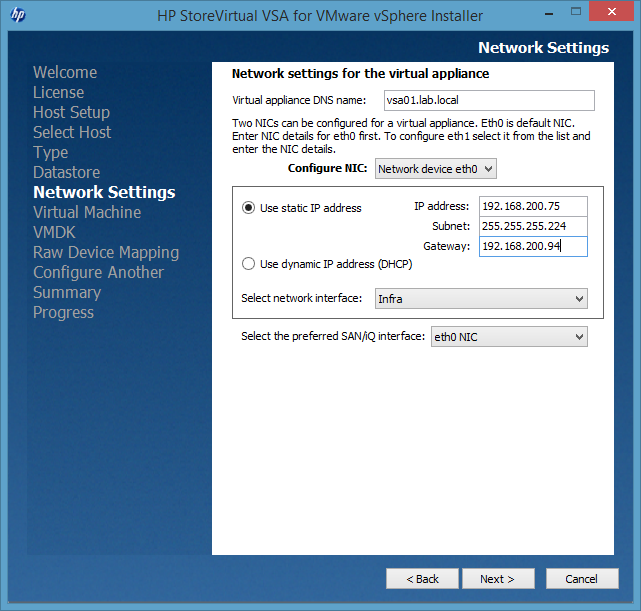
Patrick Terlisten/ vcloudnine.de/ Creative Commons CC0
The second NIC is dedicated to iSCSI traffic. Please notice the drop-down menu on the bottom “Select the preferred SAN/iQ interface”. I will refer to it later.
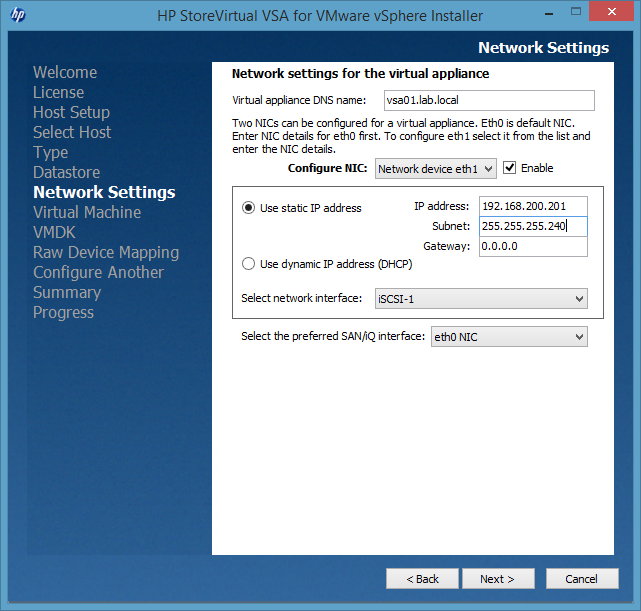
Patrick Terlisten/ vcloudnine.de/ Creative Commons CC0
Now it’s time to give a name to the VM and to select the drive type. Because I had no RDMs in my lab, the option is greyed out.

Patrick Terlisten/ vcloudnine.de/ Creative Commons CC0
Now we have to configure the data disks.
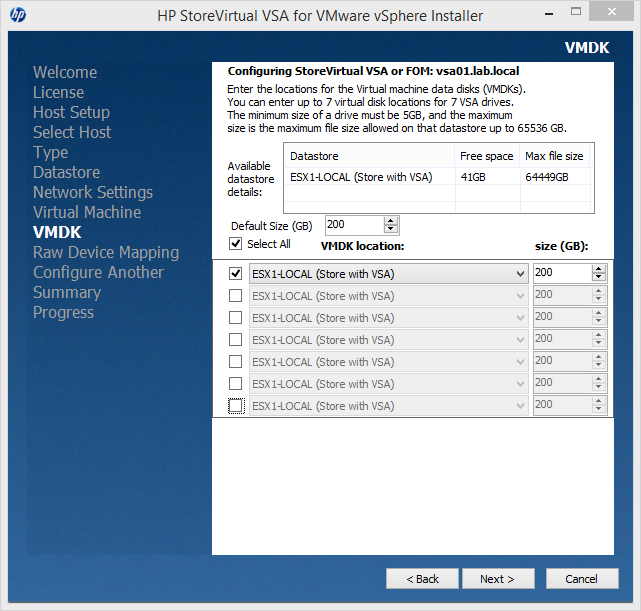
Patrick Terlisten/ vcloudnine.de/ Creative Commons CC0
The wizard allows you to deploy more than one VSA. In the next step you can choose, if you want to deploy another VSA on the same or another host, or if you are done. I only deployed one VSA, so I was done at this point.
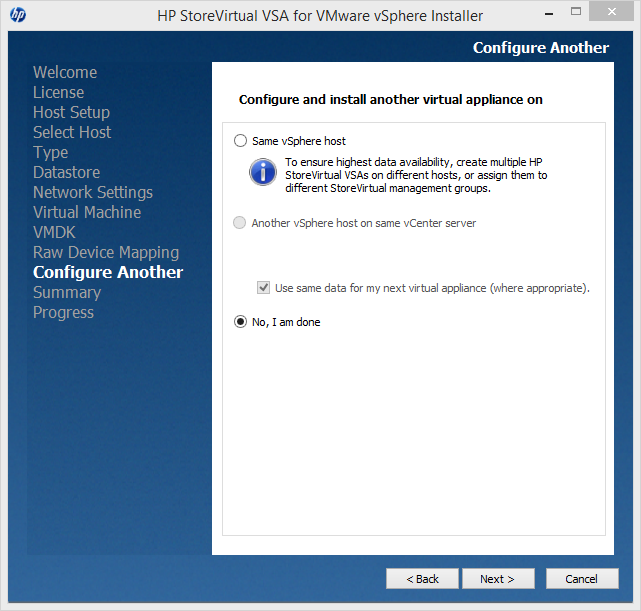
Patrick Terlisten/ vcloudnine.de/ Creative Commons CC0
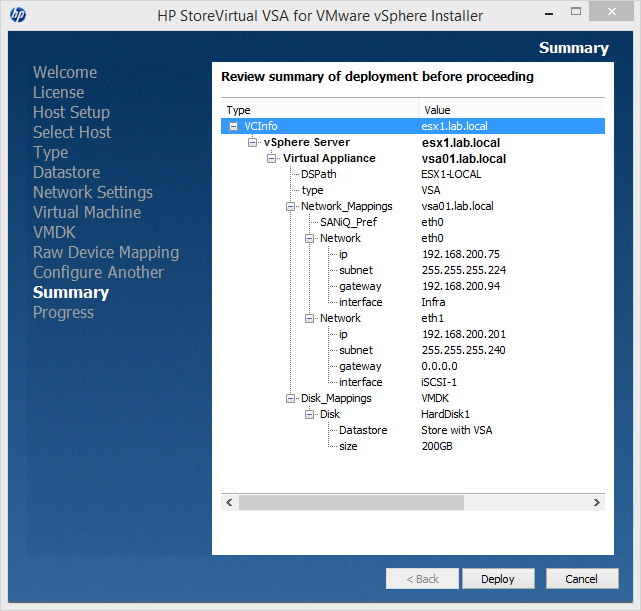
Before you click “Deploy”, you should check the settings. If everything is fine, hit the “Deploy” button. The deployment will start immediately.

Patrick Terlisten/ vcloudnine.de/ Creative Commons CC0
After a couple of minutes the deployment is finished. Hit “Finish”. Now it’s time to start the Centralized Management Console (CMC). If not already installed, you can install it manually. Usually the CMC is installed automatically by the wizard.
Patrick Terlisten/ vcloudnine.de/ Creative Commons CC0
Part II covers the configuration of the management group, cluster etc. If you have further questions or feedback, feel free to leave a comment!