
How to migrate from VMware vCOps to vROps - Part 1
VMware presented the vRealize Operations Manager 6.0 at the VMworld 2014 in Barcelona. In early december, vROps was available for download.
vROps 6.0 is the successor of VMwares IT Operations Management suite vCenter Operations Manager, or vCOps. VMware has aligned the naming scheme with other products, so this release is the first release under the new brand vRealize.
VMware has made some major improvements to this release. One of the biggest advantages is the ability to scale-out. In prior releases you had to deploy multiple vApps to scale. Now you can add additional vROps instances to a cluster. These appliances provide computing resources, as well as redundancy. This allows you to scale beyond the limits of vCOps 5. Redundancy is provided by a concept which is based on master, replica and data nodes. The fist node in a vROps deployment is the master node. By adding a replica node, you can add redundancy for the case that the master node fails. Master and replica node work in a active/ standby relationship. The data nodes are the secret behind the scalability of vROps. A data node has only one task to perform: Collect data based on the assigned adapter.
Abstract: An adapter is used to collect data from 3rd party systems and it’s provided by different available management packs. Check VMwares Whitepaper VMware vRealize Operations Guide to Third-Party Solutions for more information about availble management packs. From my point of view the management packs (which provide the adapters) for HP 3PAR (HP StoreFront), HP OneView, Brocade SAN Analytics, Microsoft SCOM or SAP CCMS are really cool. Just to make this clear: vRealize Operations Manager 6.0 is NOT focused on VMware! You can use vROps with available management packs to get a much better oversight over your IT infrastructure!
VMware has also improved the user interface (UI). There is no need anymore to switch between different UIs. The management, administration and customer UI has been consolidated into a single UI. The first UI access after the initial deployment is redirected to a first-time wizard. This wizard helps you to deploy vROps, or to migrate your vCOps environment. In addition to the UI changes, VMware has added RBAC to vROps to simplify user access management.
When talking about the UI, it’s only a small step to the data visualization and reporting. The visualization of collected data is one of the greatest features of vCOps/ vROps. Only data visualization makes it possible to get a quick oversight over the current health of the IT infrastructure. Prior version of vROps included reports and some fixed dashboards. With the current release, vROps provides fully configurable reports and dashboards with the ability to include any data source, object or metric. Just think about the opportunities: You can build reports or dashboards across the whole stack, from the infrastructure to the application.
Smart Alerts provide a way to trigger an alarm, when multiple symptoms are observed. This is much more flexible than the old alarms you know from vCOps. But even a dynamic threshold may be too inflexible in certain cases. Smart Alerts add more intelligence to the alarming system. When using smart alerts, an alert is triggert when multiple symptoms are observed. Now you know that something is wrong in your datacenter. But how can you solve this? vROps is able to execute basics operations as a reaction to a smart alert. If you need more advanced reactions, vROps can utilize vRealize Orchestrator to accomplish this. Your datacenter will heal itself.
The capacity management was improved. The well known “Demand & Allocation” based capacity model hasn’t changed, but it’s now not limited to vSphere objects. The capacity management can now include all monitored objects. VMware also improved the the “what-if”-analysis. This feature was now extended and is now aware of projects. With this feature, you can add future hardware purchases into a “what-if”-analysis.
VMware dramatically improved the analysis and monitoring of the storage subsystem. Unified Storage Visibility can show you the correlation between applications and your underlying storage infrastructure in an End-2-End manner.
The licensing was simplified. Customers can now install multiple editions in the same vROps deployment. This enables customers to deploy a-la-carte and suite licenses together, e.g. vCloud Suite Standard, vSOM Standard and vROps Standard together in one deployment. You can’t deploy Standard with either an Advanced or Enterprise, e.g. vCloud Site Standard and vSOM Advanced or vROps Advanced/ Enterprise.
The deployment process
You can deploy vROps using a virtual appliance or on top of RHEL or Windows using suitable installation packages. I would always prefer the appliance deployment. A big advantage is, that the new vROps appliance is a single appliance, not a vApp. Especially in environments without DRS deploying the vCOps vApp was pain. You can deploy vROps on every ESX/ESXi host running version 4.0 or later that is managed by a VMware vCenter Server 4.0 Update 2 or later.
I used the good old C# client to deploy the appliance. ;) Start with selecting “Deploy a OVF Template” from the vSphere client.

Patrick Terlisten/ vcloudnine.de/ Creative Commons CC0
Simply click “Next” to get to the EULA.

Patrick Terlisten/ vcloudnine.de/ Creative Commons CC0
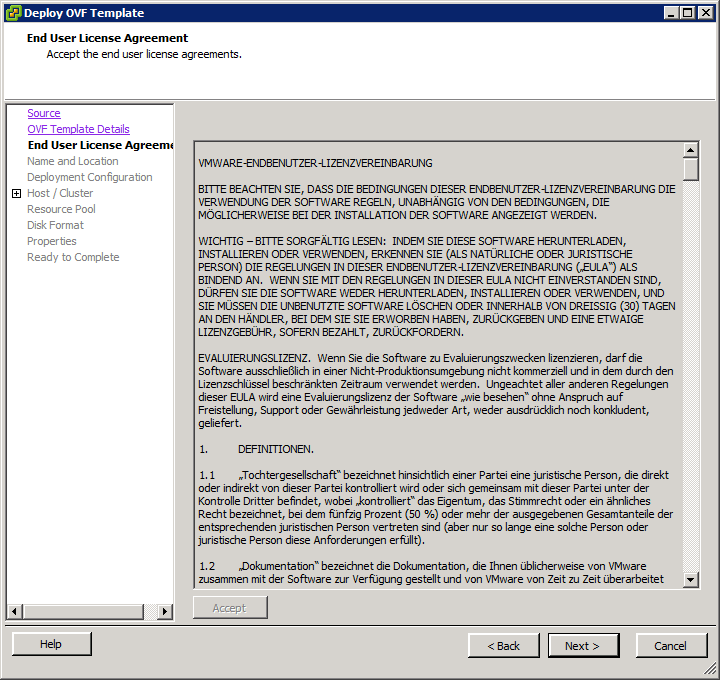
Carefully read the EULA and click “Accept”. Then click “Next”.
Patrick Terlisten/ vcloudnine.de/ Creative Commons CC0
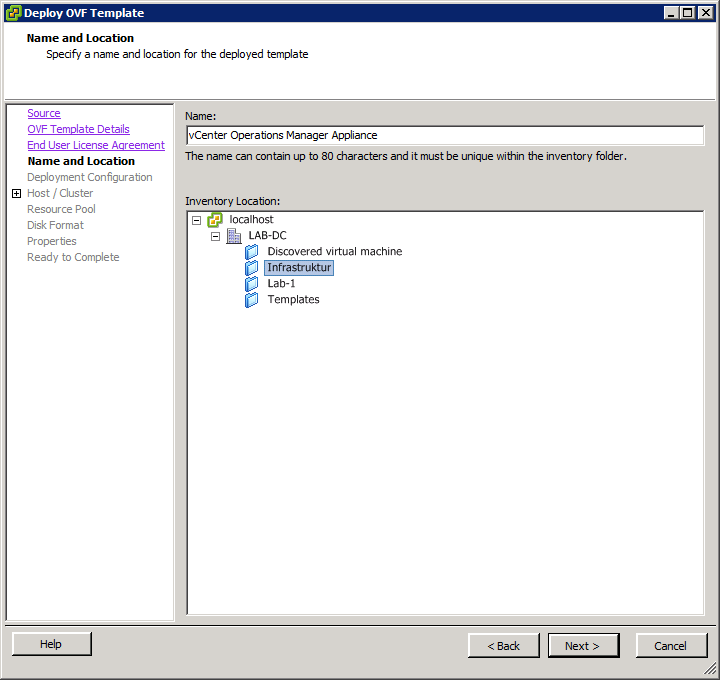
Enter a new name for the vROps appliance or accept the default name. Select a location for the VM.
Patrick Terlisten/ vcloudnine.de/ Creative Commons CC0
Select the configuration. If your environment consists of equal or less 2000 VMs, select “small”. In this case the appliance will configured with 4 vCPUs and 16 GB memory. This is equal to the resources of the old vCOps vApp construct.

Patrick Terlisten/ vcloudnine.de/ Creative Commons CC0
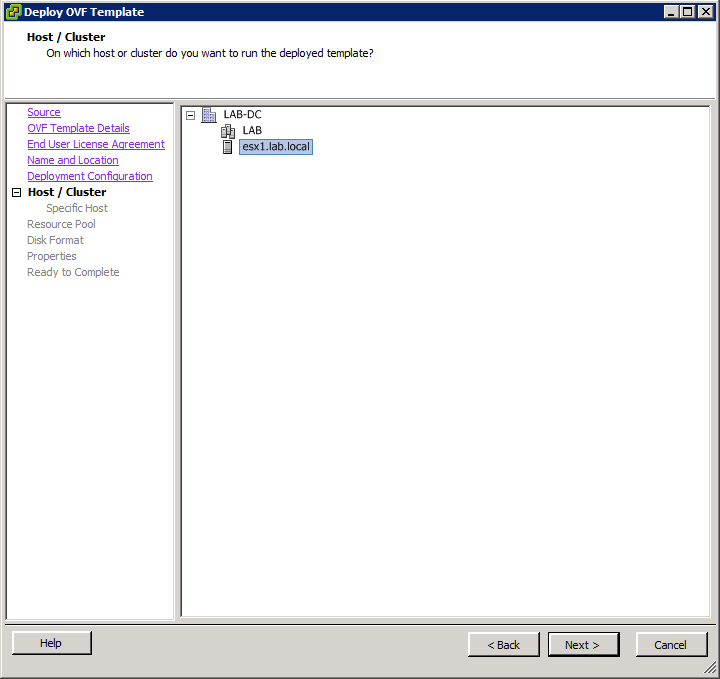
Select the host or the cluster into the vROps appliance should be deployed. I selected my management host.
Patrick Terlisten/ vcloudnine.de/ Creative Commons CC0
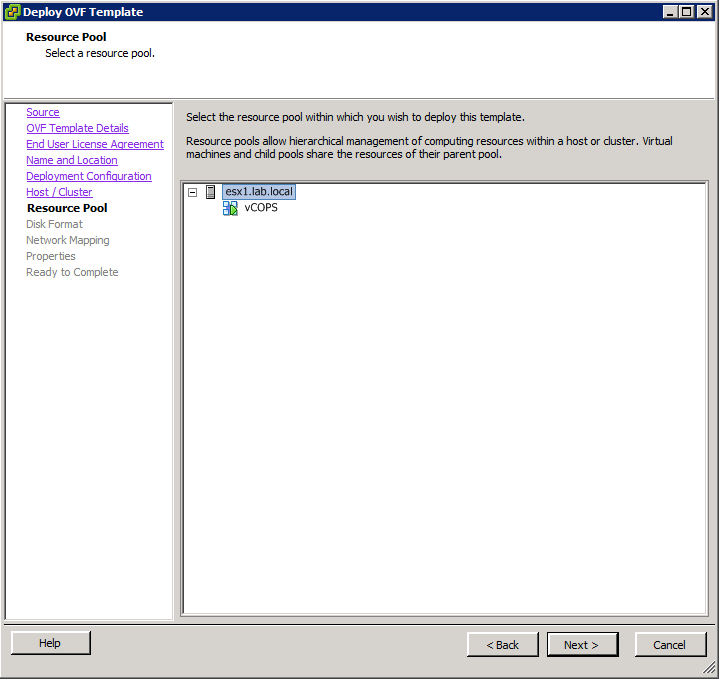
Select a resource pool if you have RPs configured.
Patrick Terlisten/ vcloudnine.de/ Creative Commons CC0
I deploy my VMs always thin-provisioned in my lab. Select an appropriate disk format for your deployment.
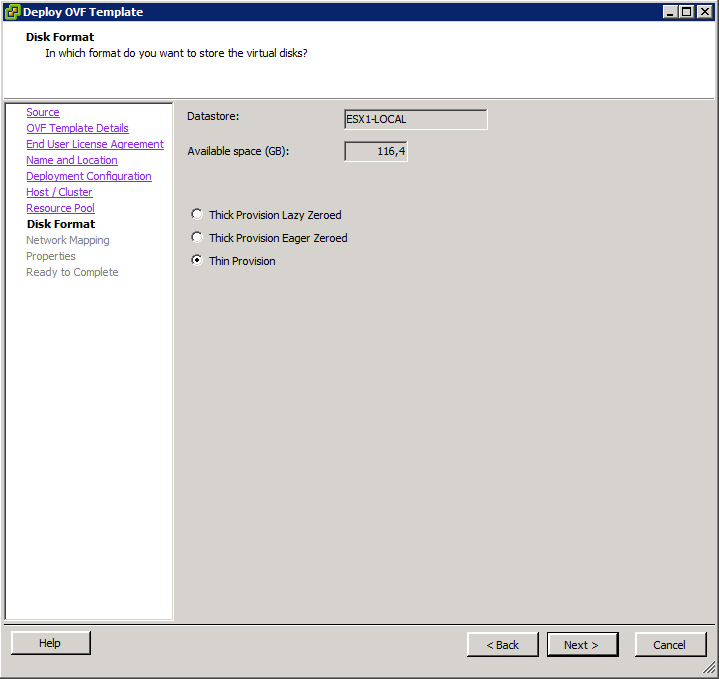
Patrick Terlisten/ vcloudnine.de/ Creative Commons CC0
Choose the port-group to which the appliance should be connected. In my case it’s my infrastructure port-group.
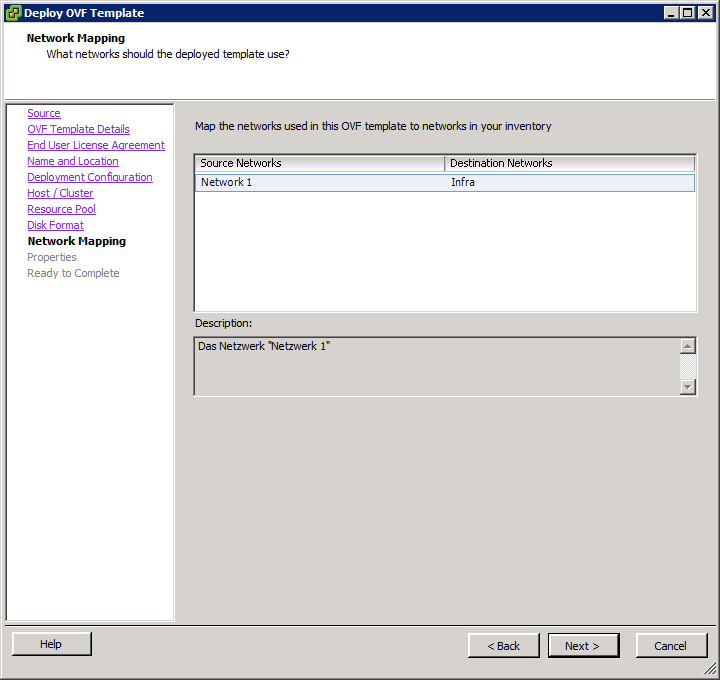
Patrick Terlisten/ vcloudnine.de/ Creative Commons CC0
Now we need to add IP, subnet, gateway, DNS and time zone. Make sure that this applies to the port-group you have chosen one step earlier.
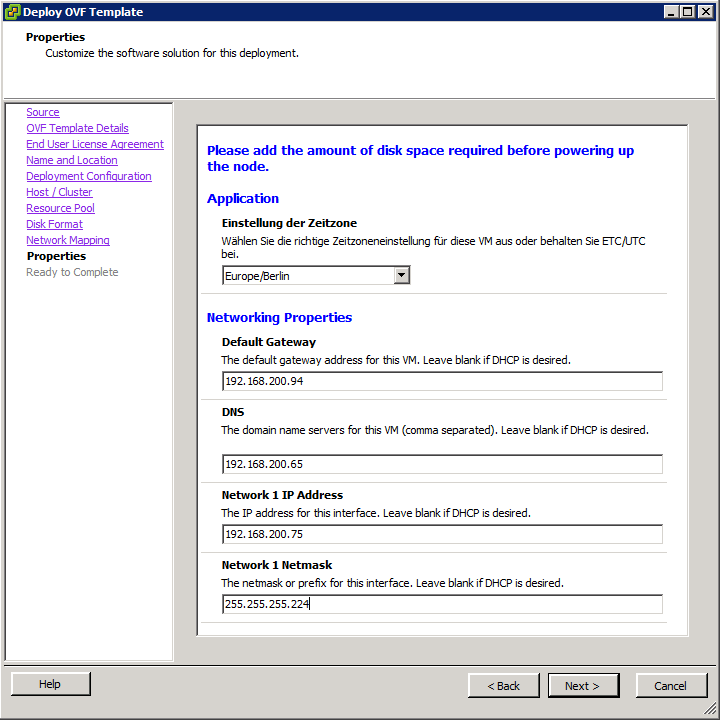
Patrick Terlisten/ vcloudnine.de/ Creative Commons CC0
Double check your settings and click “finish”.
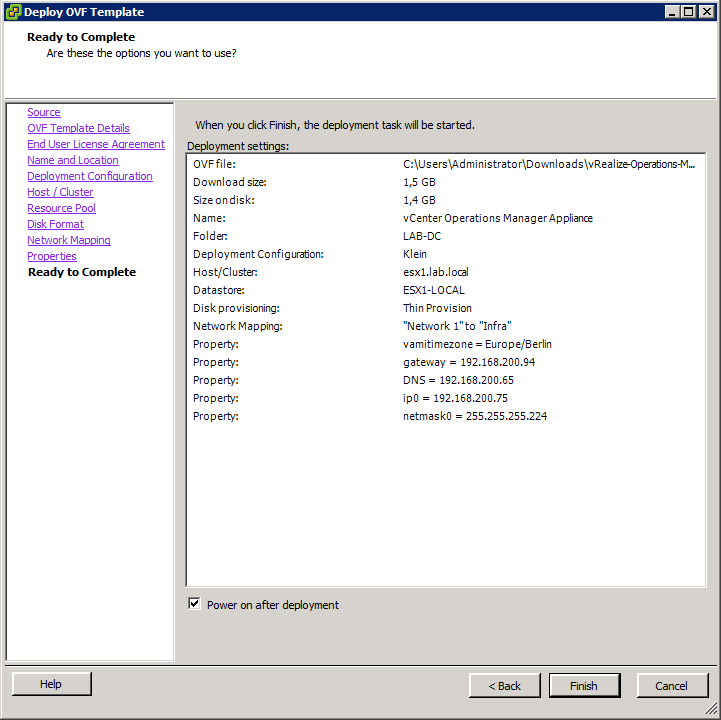
Patrick Terlisten/ vcloudnine.de/ Creative Commons CC0
Depending on your equipment, wait a couple of seconds, get yourself a coffee or go out for a walk. Congratulations, it’s a vROps!
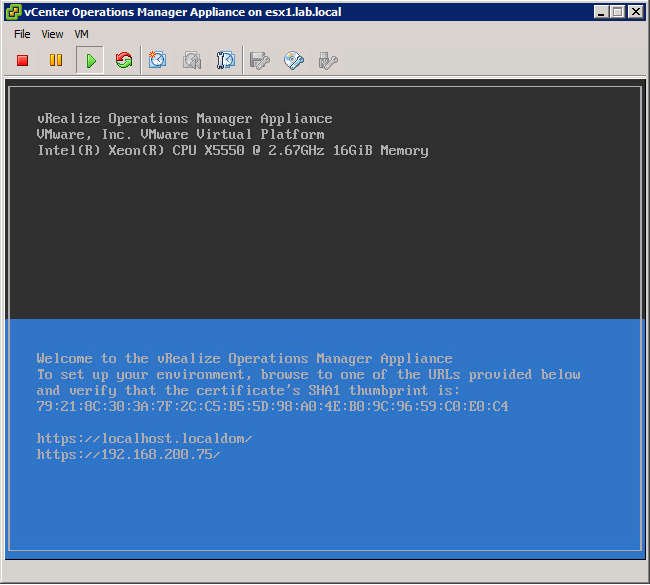
Patrick Terlisten/ vcloudnine.de/ Creative Commons CC0
At this point is the initial deployment finished and we can proceed further. As you maybe noticed, there was already a vCOps deployed in my lab. At this point a vCOps 5.8.x and a vROps 6.0 were running in my lab. Time to migrate vCOps to vROps. This process is covered in part 2 of this series.