
Deploying HP StoreOnce VSA with HP Data Protector - Part I
The HP StoreOnce VSA is a virtual storage appliance, that is designed for backups between 1 TB and 10 TB and it’s based on HPs StoreOnce technology. I wrote a short overview about the HP StoreOnce VSA some weeks ago. Take a look at this blog posting if you are not familiar with HP StoreOnce VSA. This article is focuses on the deployment of the HP StoreOnce VSA in a VMware vSphere environment. A second and third blog post covers the configuration of the HP StoreOnce VSA with HP Data Protector.
Deploying HP StoreOnce VSA with HP Data Protector - Part I Deploying HP StoreOnce VSA with HP Data Protector - Part II Deploying HP StoreOnce VSA with HP Data Protector - Part III
Get the software
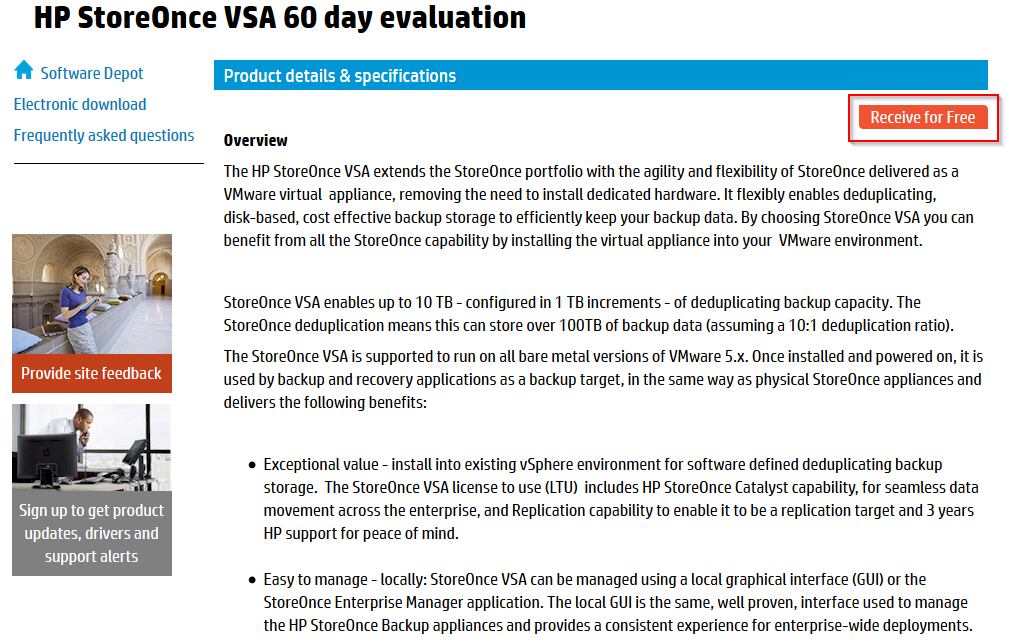
HP offers a 60-day free trial license for the HP StoreOnce VSA and HP StoreVirtual VSA. Just follow this link. You need a HP Passport account to download the software. When you follow the link, you will get to the download page. Click “Receive for Free”.
Patrick Terlisten/ vcloudnine.de/ Creative Commons CC0
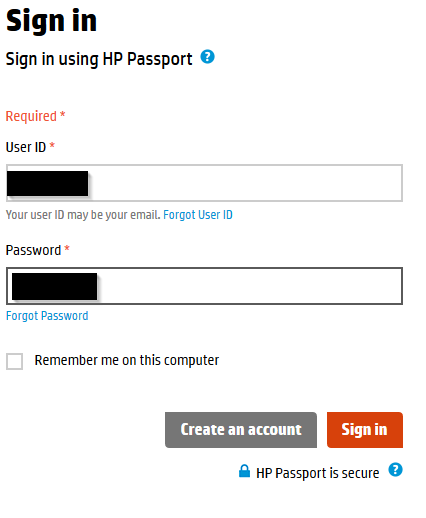
Now you need to login with your HP Passport account. If you have no account, please create an account.
Patrick Terlisten/ vcloudnine.de/ Creative Commons CC0
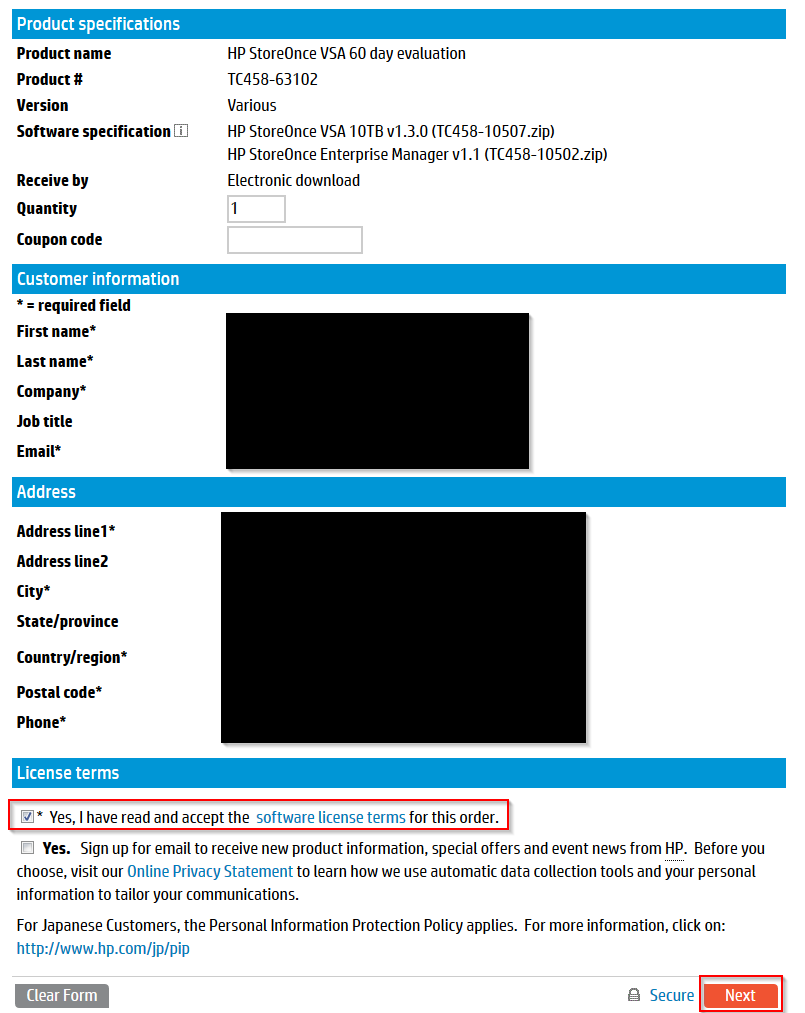
Acknowledge, that you have read the accept the software and license termins for this order. Click “Next”.
Patrick Terlisten/ vcloudnine.de/ Creative Commons CC0
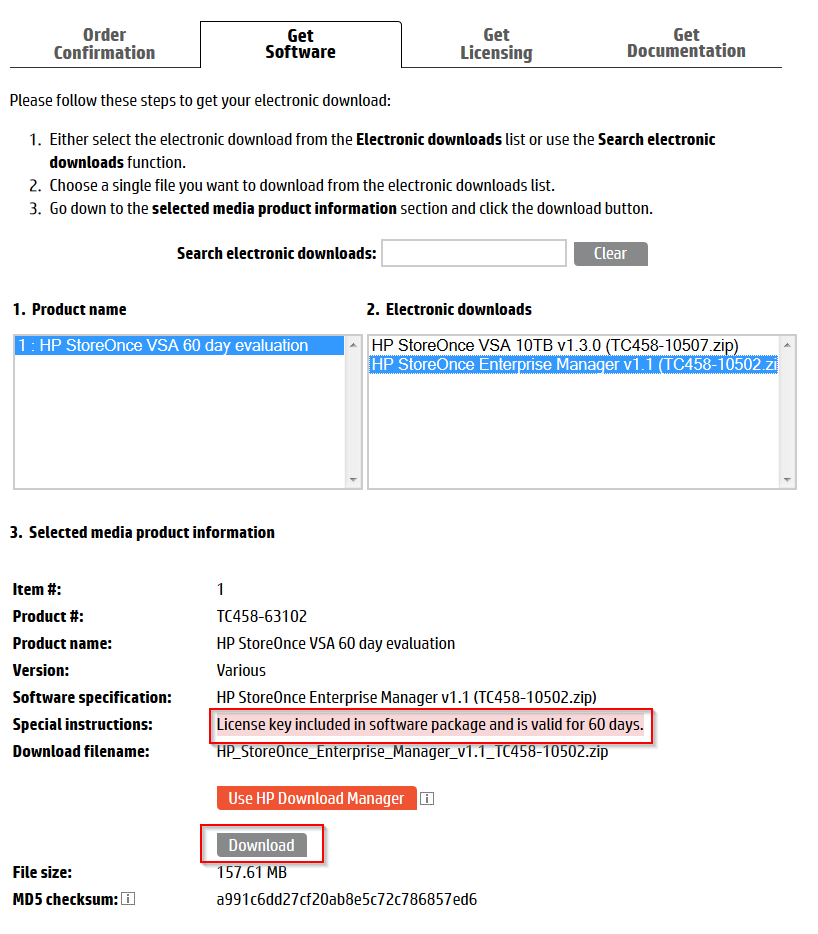
You need to download two files: One ISO with th StoreOnce VSA and the HP StoreOnce Enterprise Manager. You can choose between the standard, browser-based download, and the HP Download Manager. I usually choose the browser-based download.

Patrick Terlisten/ vcloudnine.de/ Creative Commons CC0
This is the second file you need to download. You can download both files at the same time. You don’t have to wait until the first download has finished. After the first download has started, simply click the second file and click “Download”.
Patrick Terlisten/ vcloudnine.de/ Creative Commons CC0
Proceed further after the downloads are finished.
Deploy the StoreOnce VSA
There are two ways to deploy a StoreOnce VSA:
- using the OVF
- using StoreOnce Enterprise Manager (SEM)
I will show you the way using the OVF. The cause for this is the behaviour of the SEM, that checks the required space before the deployment. If there is not enough space in the datastore, SEM will refuse the deployment. Deploying an OVF isn’t a big deal. I used the vSphere Client (not the Web Client).
Start the wizard and browse to the OVF. Click “Next”.
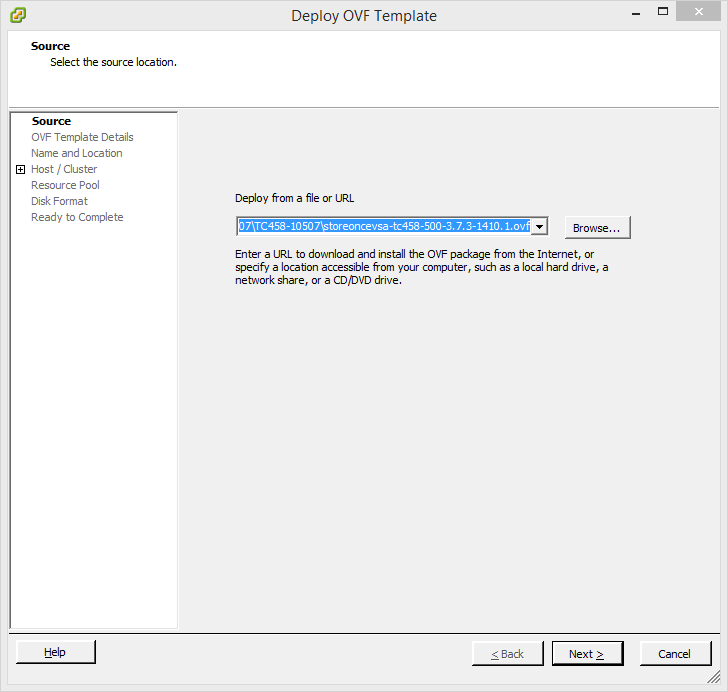
Patrick Terlisten/ vcloudnine.de/ Creative Commons CC0
Click “Next”.
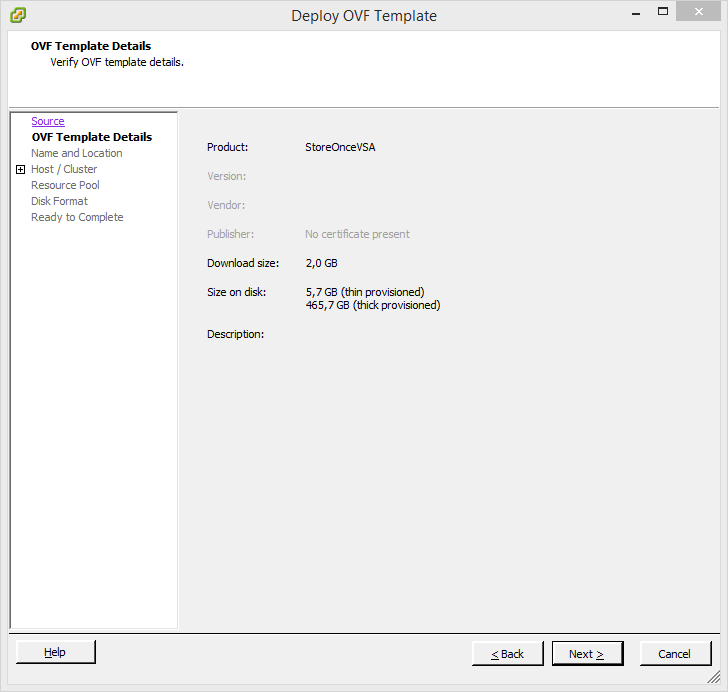
Patrick Terlisten/ vcloudnine.de/ Creative Commons CC0
Enter a name for the VM and select the datacenter.

Patrick Terlisten/ vcloudnine.de/ Creative Commons CC0
Select the cluster, into which the VSA should be deployed.
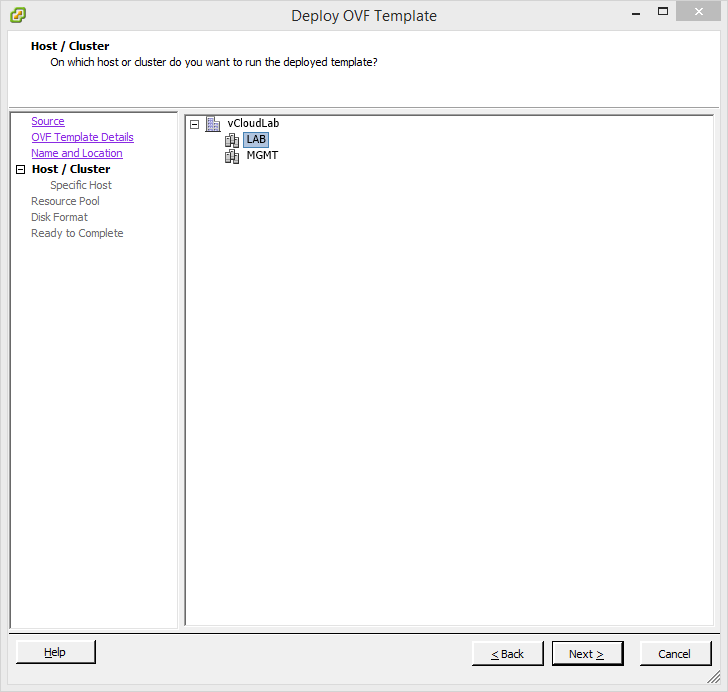
Patrick Terlisten/ vcloudnine.de/ Creative Commons CC0
Because I use vApps, I selected the vApp used for my backup tests. If you use resource pools, select the desired resource pool.
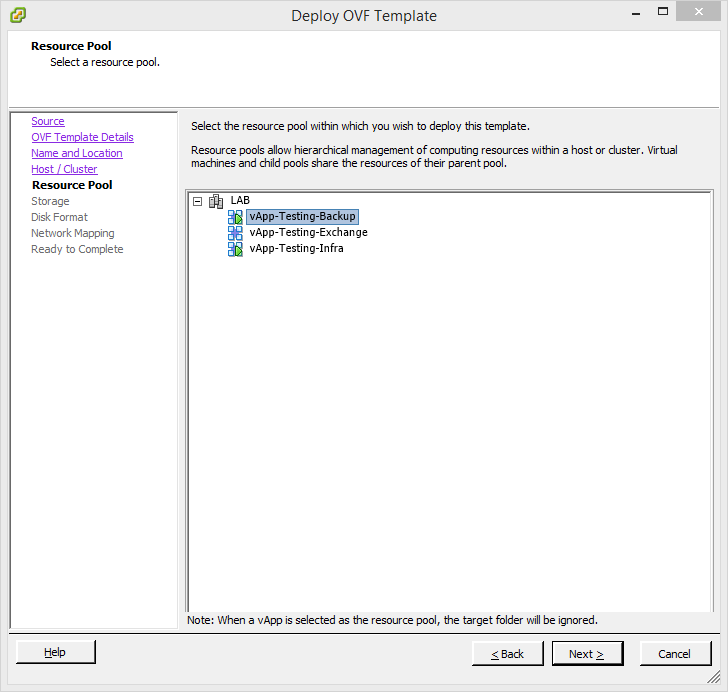
Patrick Terlisten/ vcloudnine.de/ Creative Commons CC0
Select the datastore for the StoreOnce VSA. Please note, that the VSA will use ~ 500 GB when thick provisioned.
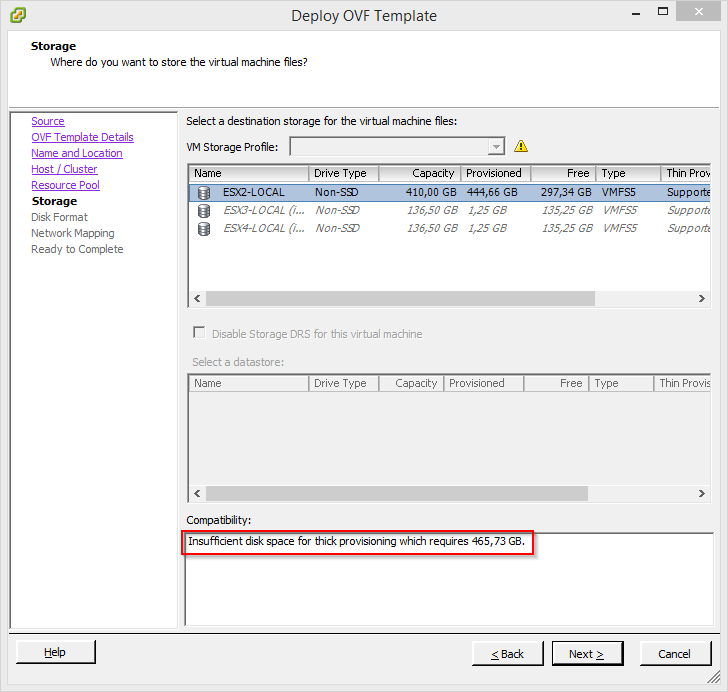
Patrick Terlisten/ vcloudnine.de/ Creative Commons CC0
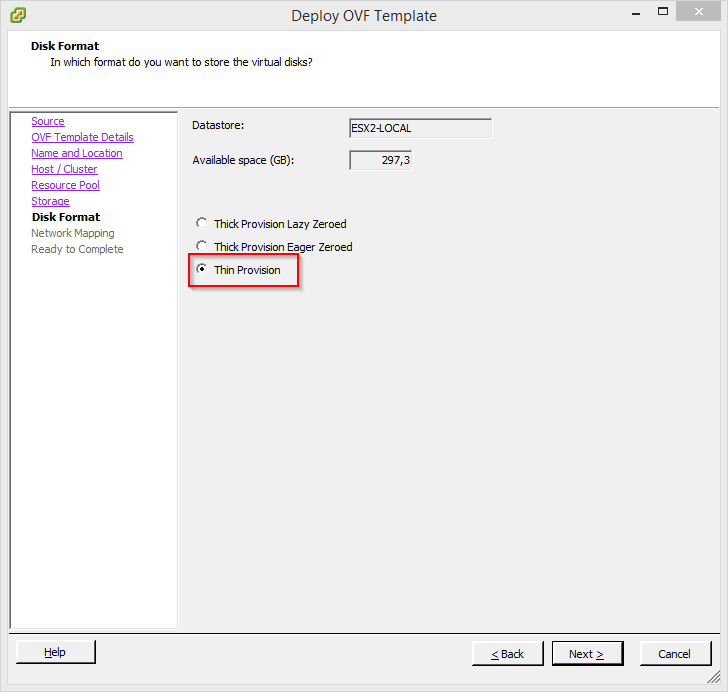
Due to the space requirements, I decided to use thin-provisioned disks.
I got an email from Anshul Nagor (StoreOnce/ Storage R&D Lab, HP Bangalore). Anshul wrote that HP recommends to use thin-provisioning for the system disk. The system disk holds the OS and the software. No data will be written to it. The next release of the VSA will have a smaller system disk.
Patrick Terlisten/ vcloudnine.de/ Creative Commons CC0
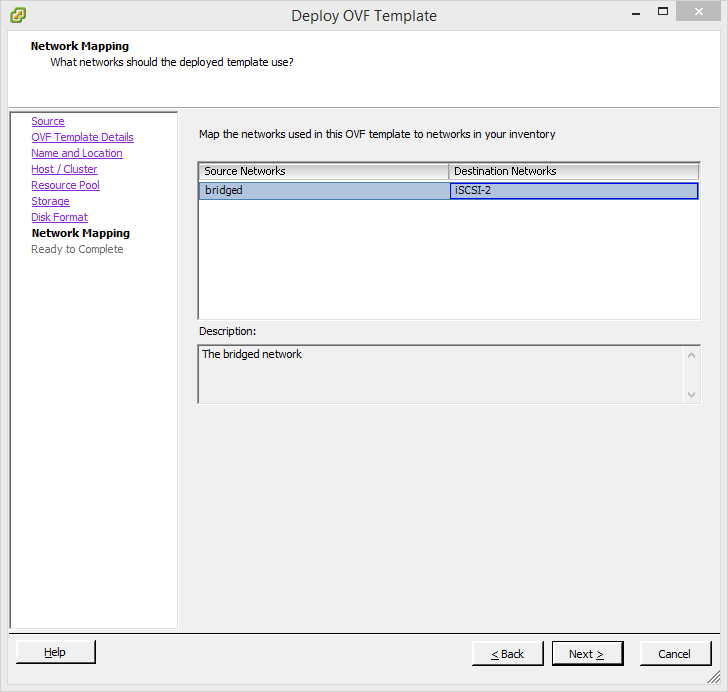
I have a dedicated port group for iSCSI. My backup server has also a NIC attached to this port group.
Patrick Terlisten/ vcloudnine.de/ Creative Commons CC0
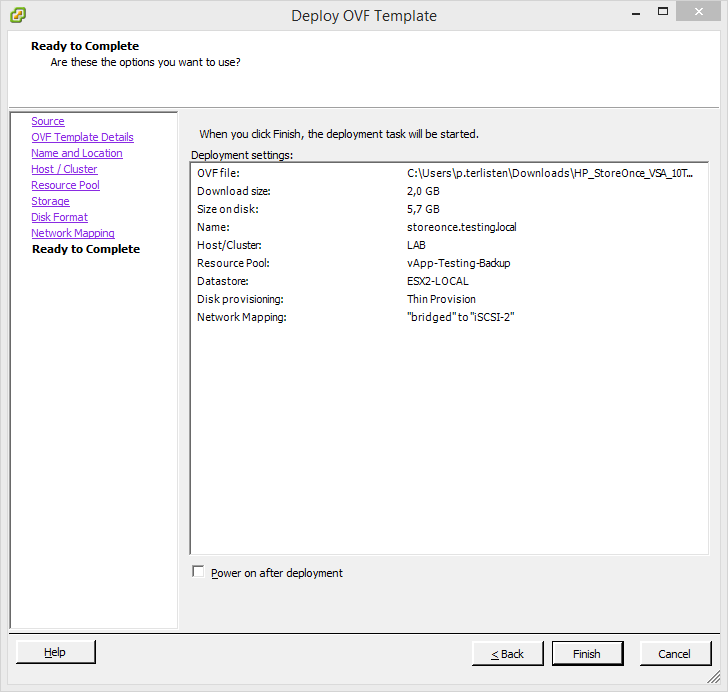
Check the summary and start the deployment. Don’t power on the VM!
Patrick Terlisten/ vcloudnine.de/ Creative Commons CC0
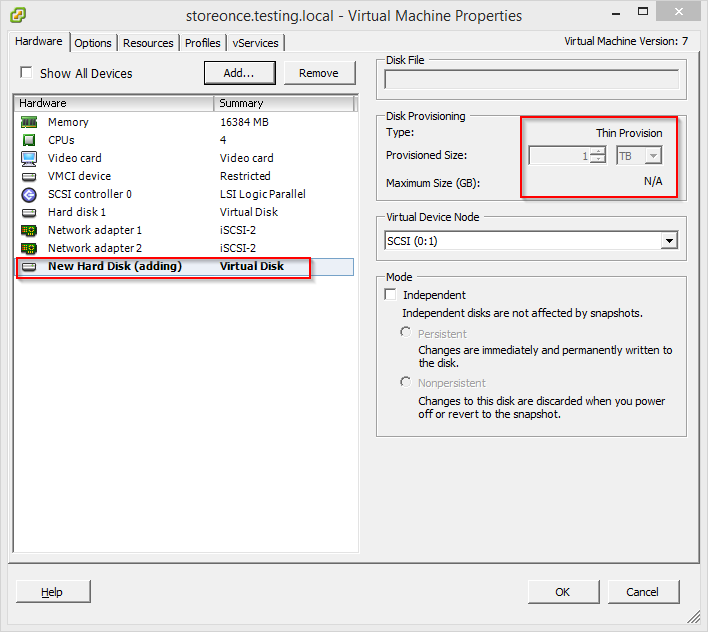
The VSA needs an additional disk for the data. The disk must have at least a capacity of 1 TB. Otherwise the instant-on licence is not applied and the StoreOnce services will not start. Due to the space requirements, I decided to use thin-provisioned disks. This is not recommended for production use.
I’d like to thank Anshul Nagori, Patrick Osborne and Calvin Zito for helping to solve a problem, that only existed because I didn’t had read carefully enough.
Patrick Terlisten/ vcloudnine.de/ Creative Commons CC0
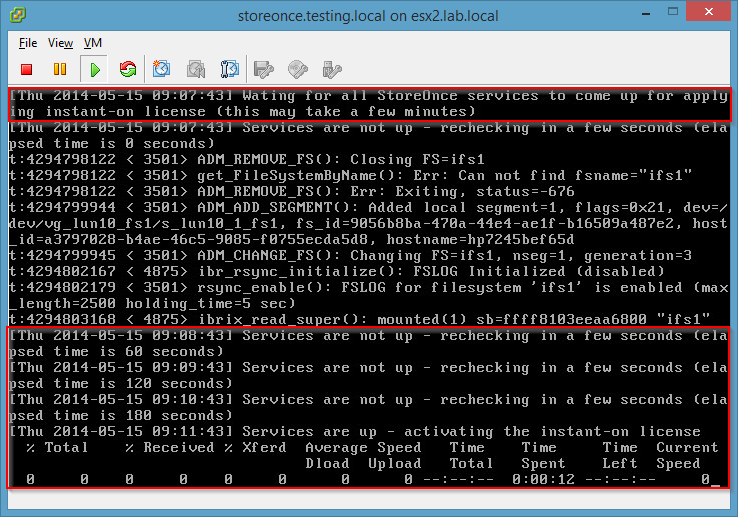
Now you can power on the VSA. The VSA will run a couple of scripts. When you see the message “Services are up - activating the instant-on license” everything’s fine.
Patrick Terlisten/ vcloudnine.de/ Creative Commons CC0
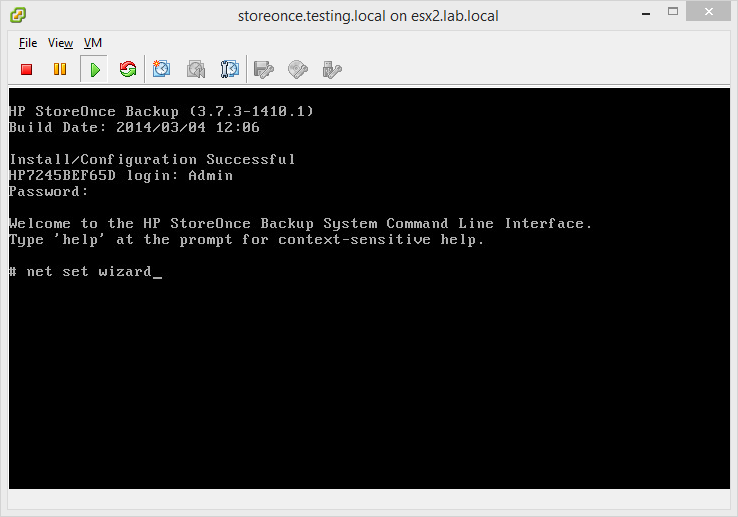
If you have DHCP available, the VSA will try to get a IP via DHCP. If you don’t have a DHCP server available, you can use “net set wizard” to start the network configuration wizard.
Username: Admin Password: admin
Patrick Terlisten/ vcloudnine.de/ Creative Commons CC0
I captured the output of the wizard:
StoreOnce Network Configuration Wizard
--------------------------------------

This Wizard will guide you through the configuration of
network settings on your StoreOnce Backup System.
If you wish to make additions or modifications to an existing
network configuration without having to reconfigure all settings,
use the 'net modify' or 'net add' commands instead.

See the User Guide guide for physical port layout details.

The wizard consists of the following steps:
Step 1) Set system wide DNS server addresses (optional)
Step 2) Configure network settings for available network adapters
Step 3) Save and apply all network settings

Type 'quit' + ENTER at any time to exit wizard.

Step 1) Set system wide DNS server addresses (optional)
-------------------------------------------------------

Enter a list (max 3) of DNS servers separated by commas (eg 192.168.1.100,192.168.3.100) or press return to skip :

-->192.168.200.65

<--DNS servers: 192.168.200.65

*Step Complete* Do you want to :
1 = Go to next step: Step 2) (default)
2 = Go back to start of present step: Step 1)
3 = Quit wizard and lose all settings

-->1

<--Navigation: Go to next step: Step 2)

Step 2) Configure network settings for available network adapters
-----------------------------------------------------------------

Select the type of configuration for this subnet :
1 = Single port (default)

-->1

<--Bonded/Single: Single port

Select network adapter :
1 = eth0 (1 Gig) (default)
2 = eth1 (1 Gig)

-->1

<--Single Port: eth0 (1 Gig)

Select Static or DHCP addressing :
1 = DHCP (default)
2 = Static

-->2

<--DHCP/Static: Static

Enter static IP address :

-->192.168.200.218

<--Static IP address: 192.168.200.218

Enter subnet mask :

-->255.255.255.240

<--Subnet mask: 255.255.255.240

Do you want to configure a static default gateway for this subnet or get the gateway information from DHCP?
1 = Gateway obtained from DHCP server (default)
2 = Set gateway manually

-->2

<--Gateway: Set gateway manually

Enter gateway IP address :

-->192.168.200.222

<--Gateway: 192.168.200.222

Do you want to configure the network domain name or get the domain name from DHCP?
1 = Domain name obtained from DHCP server (default)
2 = Set domain name manually (e.g. mydomain.local)

-->2

<--Domain Name: Set domain name manually (e.g. mydomain.local)

Enter domain name :

-->storeonce.testing.local

<--Domain name: storeonce.testing.local

----------------------
Network: subnet_1
----------------------
IP Address: 192.168.200.218
Net Mask: 255.255.255.240
Domain Name: storeonce.testing.local
Gateway: 192.168.200.222
Bonding Mode: Not applicable
Interfaces:eth0

Is this configuration correct?
1 = Yes (default)
2 = No

-->1

<--Configuration okay: Yes

Do you want to configure another subnet?
1 = No (default)
2 = Yes

-->1

<--Another subnet: No

Select a default network (The default network shall be used as the default gateway subnet) :
1 = subnet_1 (default)

-->1

<--Default Subnet: subnet_1

*Step Complete* Do you want to :
1 = Go to next step: Step 3) (default)
2 = Go back to previous step: Step 1)
3 = Go back to start of present step: Step 2)
4 = Quit wizard and lose all settings

-->1

<--Navigation: Go to next step: Step 3)

Step 3) Save and apply all network settings
-------------------------------------------

----------------------
Network Name: net_wizard
Network Description: Created by wizard on: 12:12:54 12 May 2014
Write Protected: no
DNS Servers:192.168.200.65
----------------------
Number of Networks:1
----------------------
Network: subnet_1 (default)
----------------------
IP Address: 192.168.200.218
Net Mask: 255.255.255.240
Domain Name: storeonce.testing.local
Gateway: 192.168.200.222
Bonding Mode: Not applicable
Interfaces:eth0

Validation succeeded

Is this configuration correct?
1 = Yes (default)
2 = No

-->1

<--Finish Wizard: Yes

*Step Complete* Do you want to :
1 = Finish wizard and apply settings  (default)
2 = Go back to previous step: Step 2)
3 = Go back to start of present step: Step 3)
4 = Quit wizard and lose all settings

-->1

<--Navigation: Finish wizard and apply settings
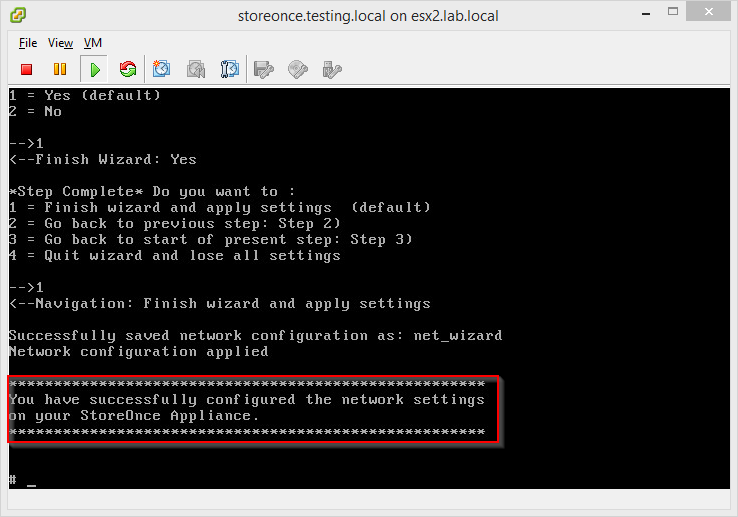
At the end the network configuration is applied and you should see this message:
Patrick Terlisten/ vcloudnine.de/ Creative Commons CC0
Now you should be able to access the web interface of the VSA. Use a browser and try to access https://<ip address>. Congratulations! Now you have 60 days to play with your brand new HP StoreOnce VSA. Part II of this series covers the configuration of the VSA. Part III covers the steps to use the StoreOnce VSA in combination with HP Data Protector 8.1.
Feel free to leave a comment if you have further questions or notes.