
Deploying Windows Server VMs with Microsoft Deployment Toolkit 2013 - Part II
After installing the required software, we need to configure MDT 2013. You need:
- Windows Server 2008 R2 ISO
- VMware Tools for Windows ISO or a Server with VMware Tools installed
The deployment share
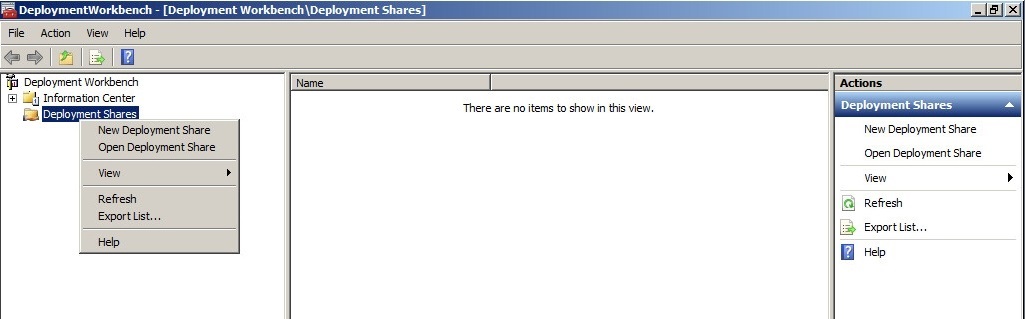
First of all we have to create a deployment share. This file share is used to access the software, drivers etc. during the deployment phase. Just start the Deployment Workbench, that can be found in the start menu. Right click the menu item “Deployment Shares” and click “New Deployment Share”.
Patrick Terlisten/ vcloudnine.de/ Creative Commons CC0
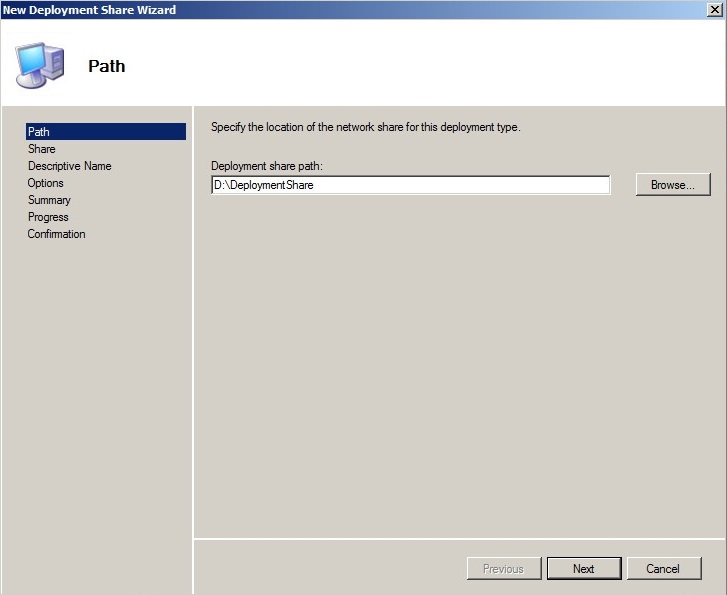
The “New Deployment Share Wizard” will assist you. Just follow the wizard… Because I have a dedicated volume for the deployment stuff, I set the path to drive D:\.
Patrick Terlisten/ vcloudnine.de/ Creative Commons CC0
The share ends with a $-sign. This is the default setting and it will make the share a hidden share. If you don’t want to use a hidden share, delete the $-sign at the end of the share name.

Patrick Terlisten/ vcloudnine.de/ Creative Commons CC0
Enter an appropriate description. I simply accepted the default setting.

Patrick Terlisten/ vcloudnine.de/ Creative Commons CC0
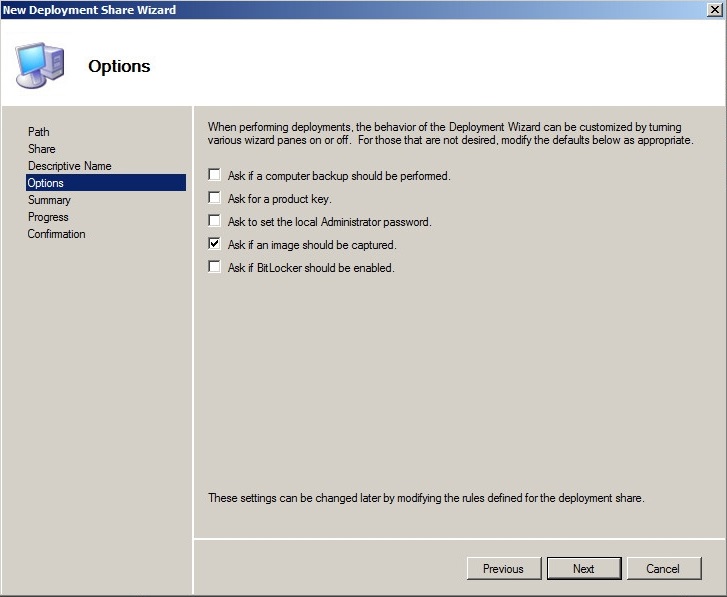
You can choose the behaviour of the deployment wizard by enabling or disabling the checkboxes. I disabled all checkboxes except the image capturing.
Patrick Terlisten/ vcloudnine.de/ Creative Commons CC0
The next screen will show you the summary of the settings. Clicking on “Next” will start the creation of the share.

Patrick Terlisten/ vcloudnine.de/ Creative Commons CC0
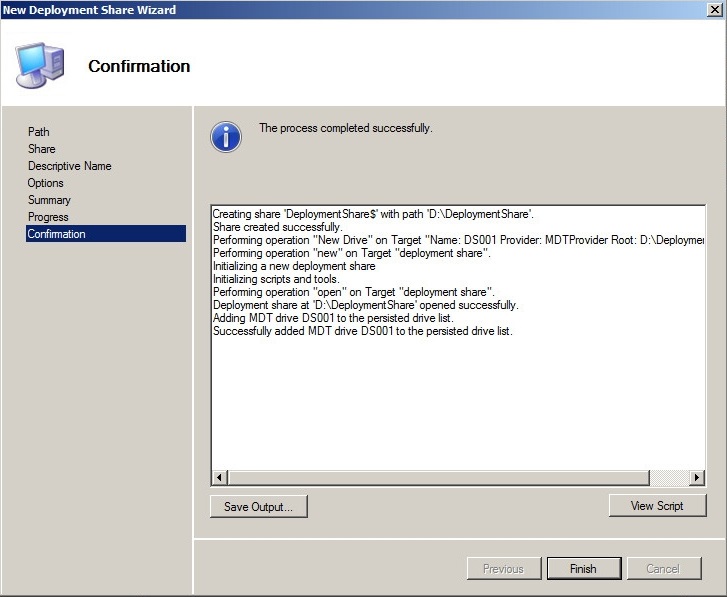
You can view the PowerShell script by clicking on the “View Script” button. This will open a notepad with the PowerShell command line. You can use this script to create the share on another server. Just run the script. Very handy.
Patrick Terlisten/ vcloudnine.de/ Creative Commons CC0
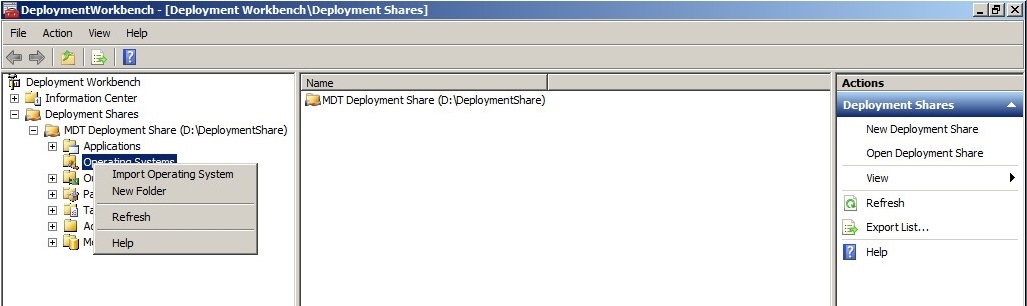
Import the OS images
After finishing this step, the deployment share is available. Now we have to import the OS images. You have to extract the Windows 2008 R2 ISO. After that, right click the menu item “Operating Systems” and choose “Import Operating System”.
Patrick Terlisten/ vcloudnine.de/ Creative Commons CC0
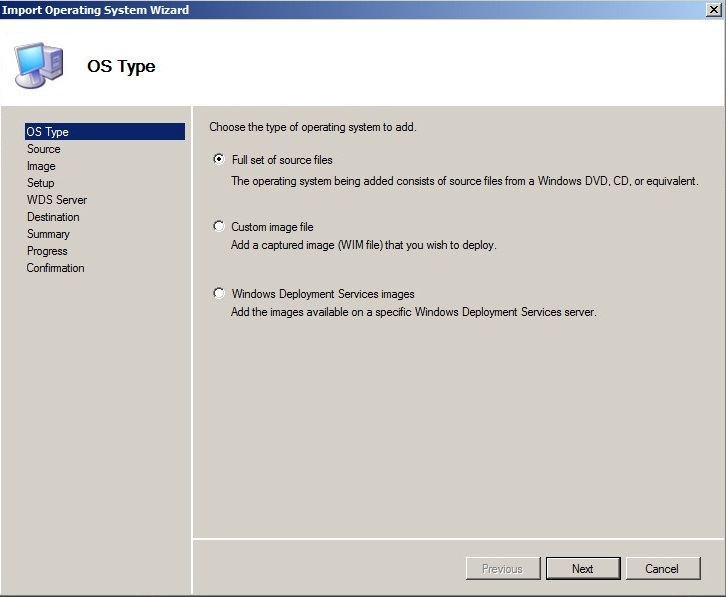
The “Import Operating System Wizard” will appear.
Patrick Terlisten/ vcloudnine.de/ Creative Commons CC0
Select the first item from the list and point to the directory with the extracted Windows 2008 R2 ISO.

Patrick Terlisten/ vcloudnine.de/ Creative Commons CC0
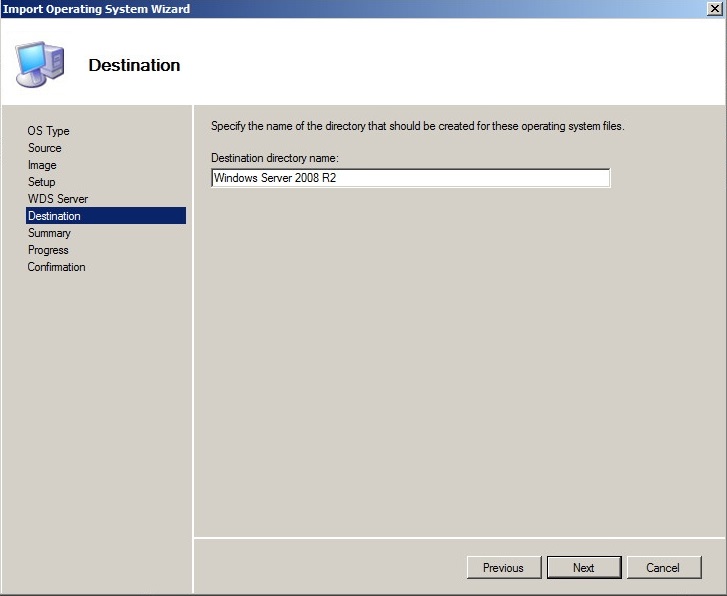
Specify an appropriate name for the directory entry.
Patrick Terlisten/ vcloudnine.de/ Creative Commons CC0
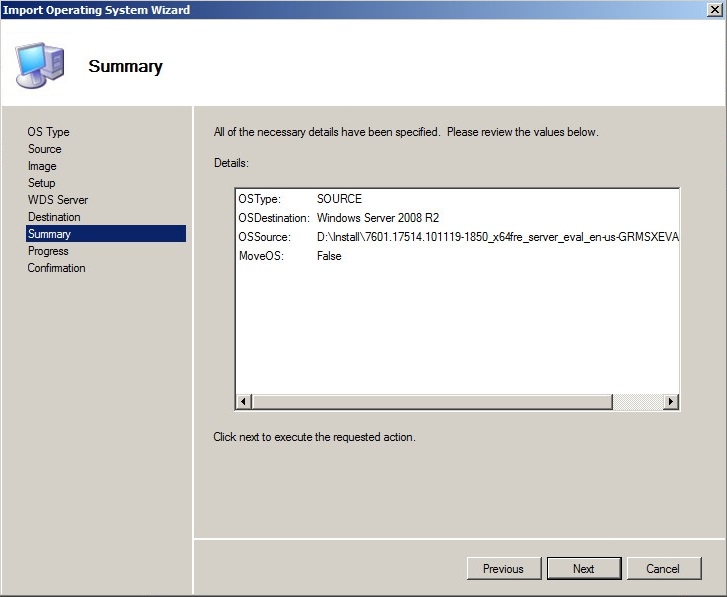
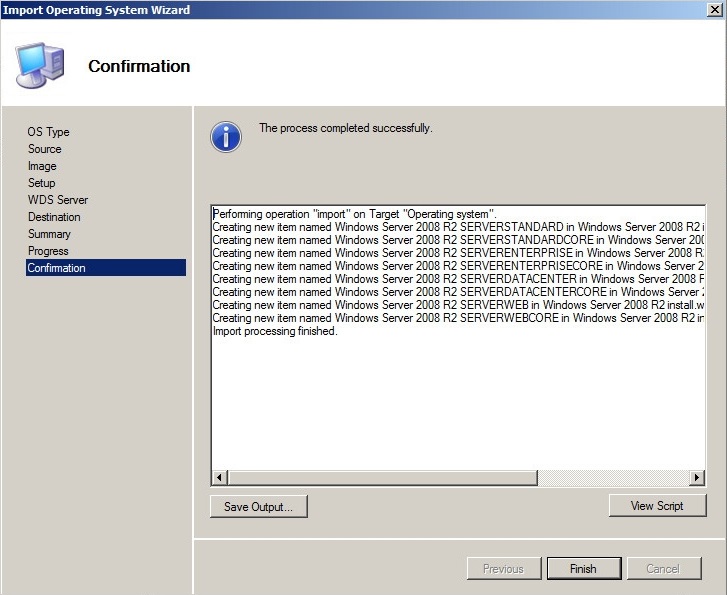
Clicking on “Next” will lead you to the summary screen. Again clicking on “Next” starts the import.
Patrick Terlisten/ vcloudnine.de/ Creative Commons CC0
Patrick Terlisten/ vcloudnine.de/ Creative Commons CC0
As you can see, the import added all versions of Windows 2008 R2 that are available on the DVD: Standard, Enterprise, Datacenter, each as Full and Core. You can remove versions you don’t need.
Import driver
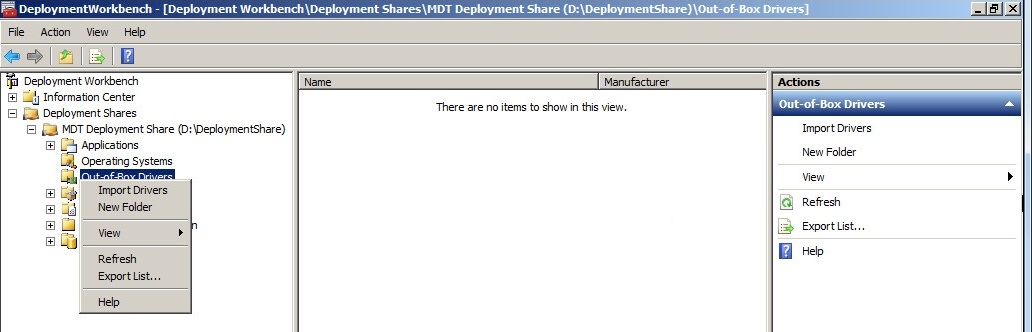
Now we have to import the drivers. For this step you need a VM with installed VMware Tools or a VMware Tools DVD. VMware KB1011710 and KB2032184 describe the procedure to extract the drivers. Because my MDT server is a VM, I can simply import the drivers. This drivers will be used for the Windows PE enviroment and for the OS deployment. This doesn’t install the VMware Tools, only the drivers will be injected.
Right click “Out-of-the-Box Drivers” and choose the item “Import Drivers”.
Patrick Terlisten/ vcloudnine.de/ Creative Commons CC0
Point to the directory with the drivers and click “Next”.

Patrick Terlisten/ vcloudnine.de/ Creative Commons CC0
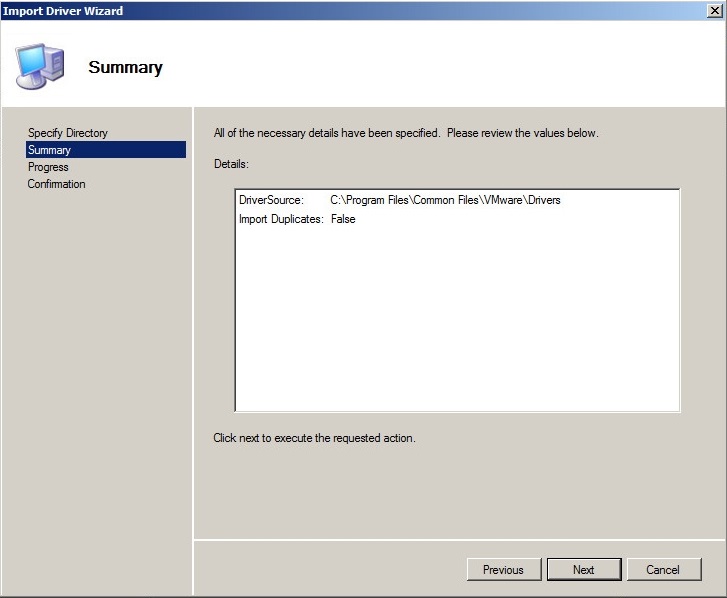
Go ahead in the summary screen by click on “Next”.
Patrick Terlisten/ vcloudnine.de/ Creative Commons CC0
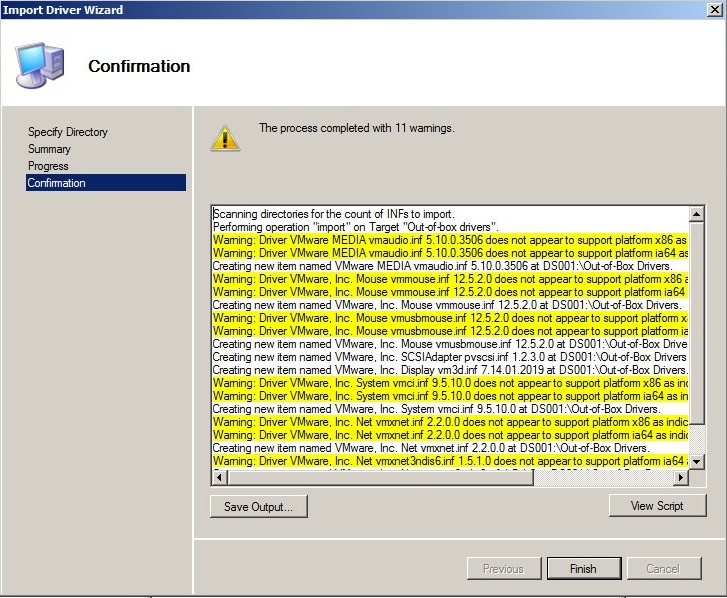
You can ignore the warnings. Some 32-bit drivers are included. The 32-bit driver PVSCSI can be found on the “pvscsi-Windows2008.flp”. You can download the via WinSCP from a ESXi host. The 32-bit driver for VMXNET3 and SVGA is included and will be used for the Windows PE x86 image.
Patrick Terlisten/ vcloudnine.de/ Creative Commons CC0
In the next article I will show how a task sequence and a VMware Tools package is created. Then we will be ready to deploy our Windows 2008 R2 VM via MDT 2013.