
Publishing Outlook Web Access with Microsoft Web Application Proxy (WAP)
Microsoft has introduced the Web Application Proxy (WAP) with Windows Server 2012 R2 and has it positioned as a replacement for Microsoft User Access Gateway (UAG), Thread Management Gateway (TMG) and IIS Application Request Routung (ARR). WAP ist tightly bound to the Active Directory Federation Services (AD FS) role. WAP can be used
- pre-authenticate access to published web applications, and
- it can function as an AD FS proxy
The AD FS proxy role was removed in Windows Server 2012 R2 and it’s replaced by the WAP role. Because WAP stores its configuration in the AD FS, you must deploy AD FS in your organization. The server, that hosts the WAP, has no local configuration. This allows you to deploy additional WAP servers to create a cluster deployment. The additional servers get their configuration from the AD FS.
The deployment of WAP can be split into two parts:
- deployment of the AD FS role
- deployment of the WAP role
The AD FS deployment
You can deploy the AD FS role on a domain controller or on a separate server. AD FS acts as an identity provider. This means, that it authenticates users and provides security tokens to applications, that trust the AD FS instance. On the other hand it can act as a federation provider. This means, that it can use tokens from other identity providers and can provide security tokens to applications that trust AD FS. The AD FS role can be deployed onto a domain controller or a AD member server.
The first step is to install the AD FS role onto a AD member server or domain controller. I used the DC in my lab. Depending on your needs, this can be different. I used the PowerShell to install the AD FS role.
Install-windowsfeature adfs-federation –IncludeManagementTools
A reboot is not necessary. The next step is to configure the AD FS role. This process is supported by configuration wizard. Before you can start, it’s necessary to deploy the group Managed Service Account (GMSA). Open a PowerShell console and execute the following commands:
Add-KdsRootKey –EffectiveTime (Get-Date).AddHours(-10)
New-ADServiceAccount FsGmsa -DNSHostName dc.vcloudlab.local -ServicePrincipalNames http/dc.vcloudlab.local
Then you can start the configuration wizard. If this is the first first AD FS server, select the first option “Create the first federation server in a federation server farm”.

Patrick Terlisten/ vcloudnine.de/ Creative Commons CC0
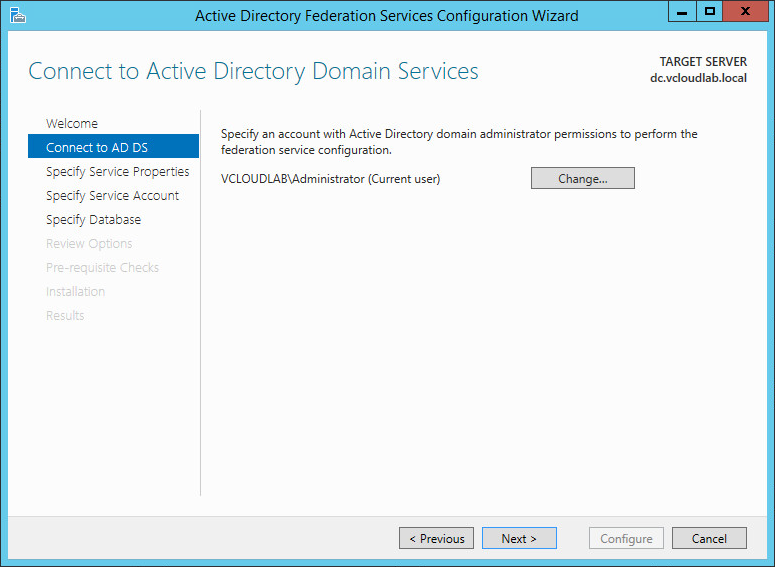
To perform the configuration, you need an account with domain administrator permissions. In my case, I simply used the Administrator account.
Patrick Terlisten/ vcloudnine.de/ Creative Commons CC0
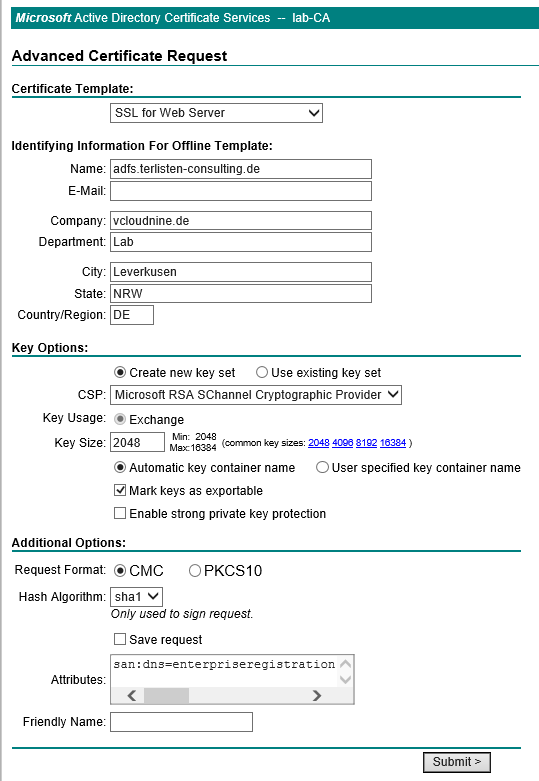
You need to enroll an SSL certificate that is used for AD FS. This SSL certificate must include the DNS name for the AD FS server and also the Subject Alternative Names enterpriseregistration and enterpriseregistration.yourdomainname.tld. This screenshot includes the values that I used in my lab deployment. I entered this values into the “Attributes” box:
san:dns=enterpriseregistration.terlisten-consulting.de&dns=adfs.terlisten-consulting.de
Patrick Terlisten/ vcloudnine.de/ Creative Commons CC0
Create the certificate and export it with the private key as pfx file. You must import the certificate into the “Personal” store of the local computer, that acts as AD FS server. You also need two DNS entries for the names, that are included in the certificate.

Patrick Terlisten/ vcloudnine.de/ Creative Commons CC0
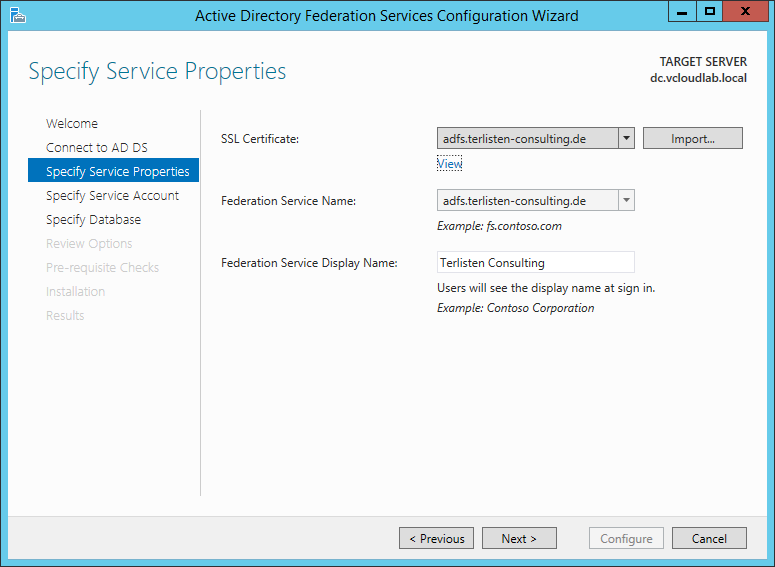
If the certificate import was successful, you can select the certificate in the wizard. Add the Federation Service Name and the Display Name.
Patrick Terlisten/ vcloudnine.de/ Creative Commons CC0
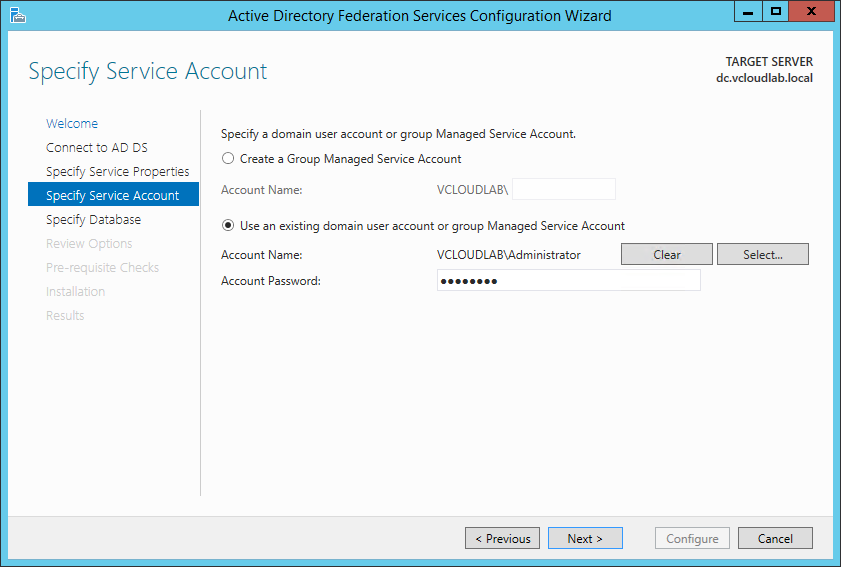
The Service Account can be a existing domain user account or a Managed Service Account. I used my Administrator account for simplicity.
Patrick Terlisten/ vcloudnine.de/ Creative Commons CC0
If you deploy a single server, you can use the Windows Internal Database. If you plan to depliy multiple AD FS servers, you have ot use a SQL server database.
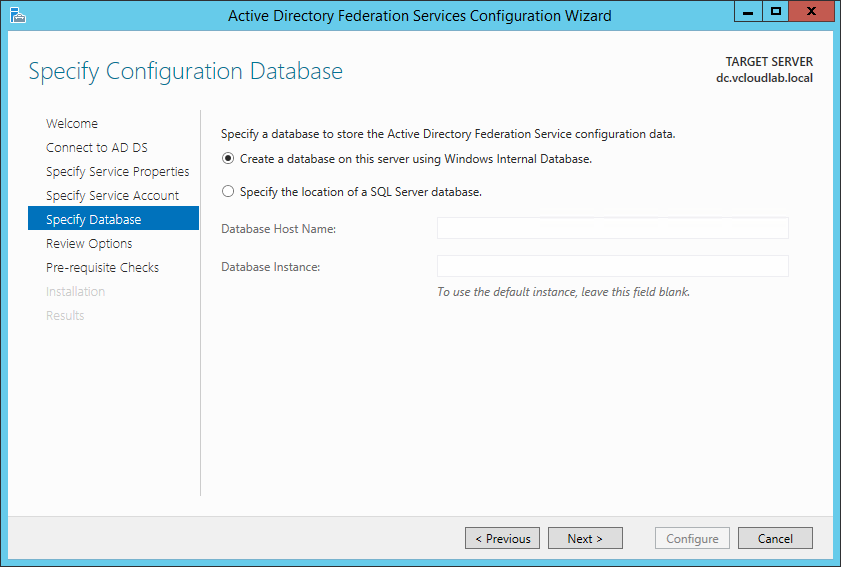
Patrick Terlisten/ vcloudnine.de/ Creative Commons CC0
Review the options and continue with the pre-requisite checks. If everything went well, you can proceed with the installation. Finish the setup and close the wizard.
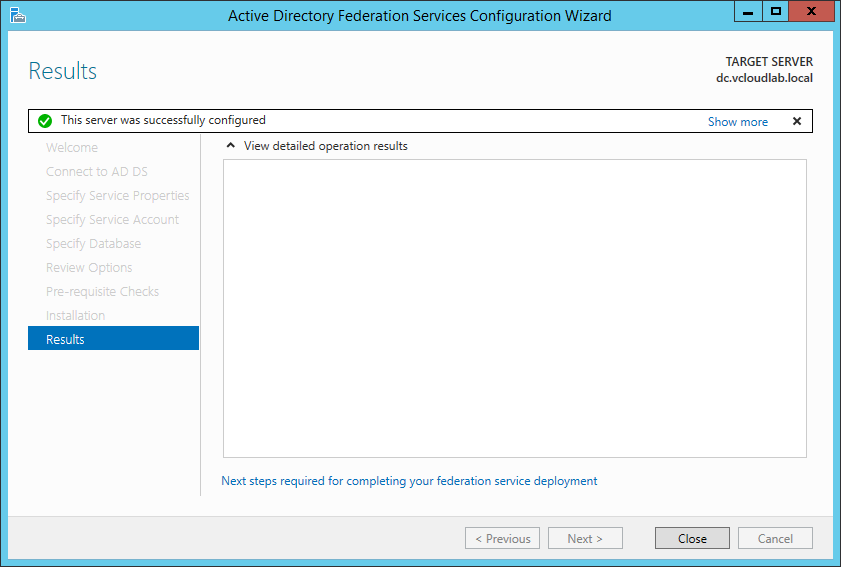
Patrick Terlisten/ vcloudnine.de/ Creative Commons CC0
Open a browser and enter the AD FS URL into the address bar. In my case this URL looks like this:
https://adfs.terlisten-consulting.de/adfs/ls/idpinitiatedsignon.htm
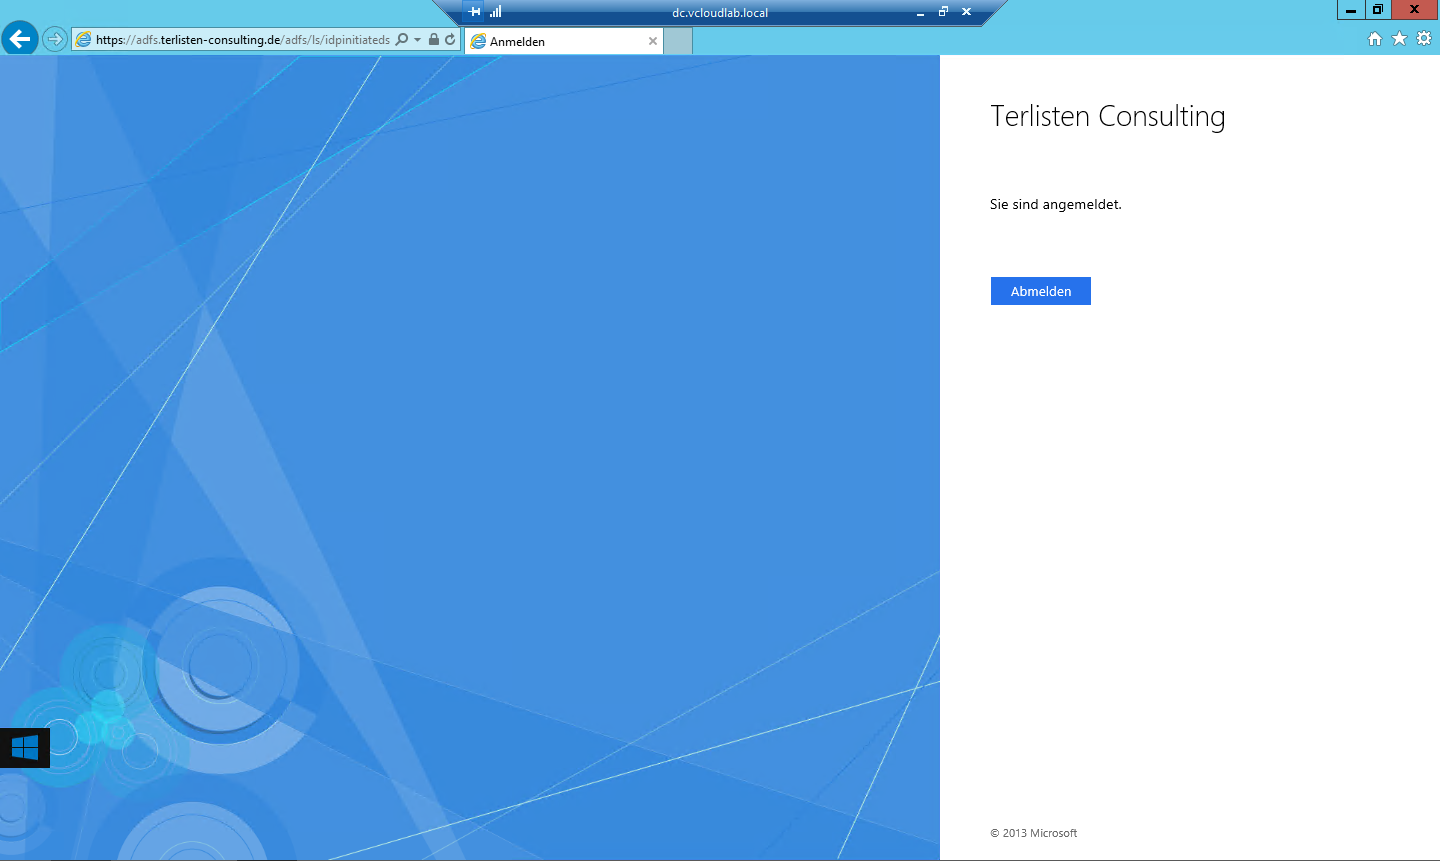
Patrick Terlisten/ vcloudnine.de/ Creative Commons CC0
If you get a screen like this, everything’s fine and AD FS works as expected. Check the Windows Server 2012 R2 AD FS Deployment Guide for more information. Now it’s time to deploy the Web Application Proxy.
The WAP deployment
To install the WAP role, simply open a PowerShell and run the Install-WindowsFeature cmdlet.
Install-WindowsFeature Web-Application-Proxy -IncludeManagementTools
Then you can run the WAP configuration wizard. This wizard guides you through the configuration of the WAP role.
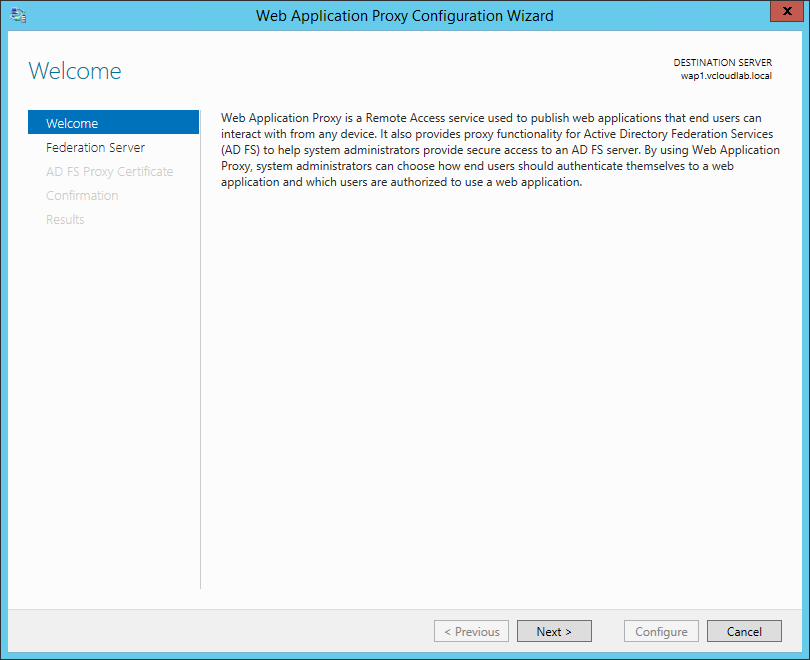
Patrick Terlisten/ vcloudnine.de/ Creative Commons CC0
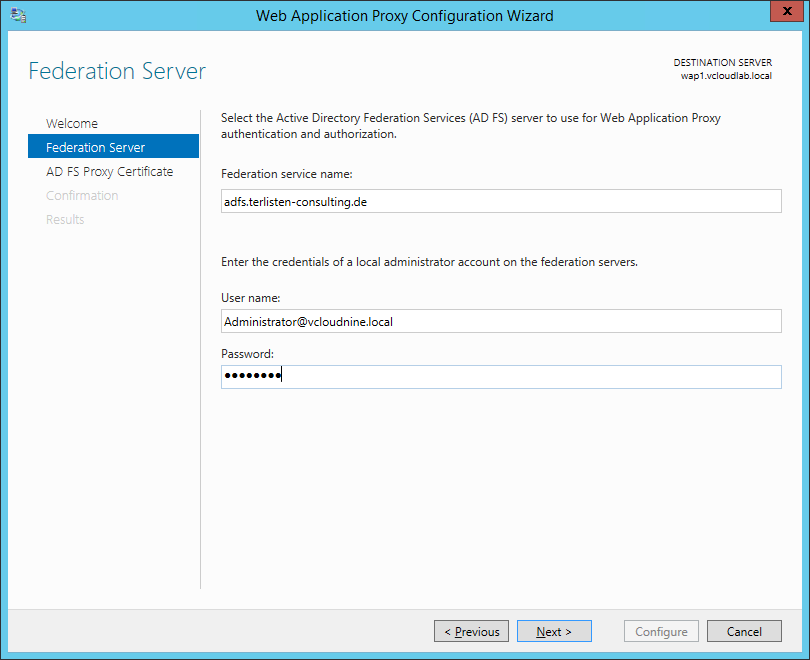
First you have to connect to the AD FS server. Enter the Federation service name you used to deploy the AD FS instance, and provide the necessary user credentials.
Patrick Terlisten/ vcloudnine.de/ Creative Commons CC0
At this point you have to select the certificate, that is used by the AD FS proxy. You can use the same certificate you used for the AD FS server. But you can also create a new certificate. The certificate must be imported into the “Personal” store of the WAP server.

Patrick Terlisten/ vcloudnine.de/ Creative Commons CC0
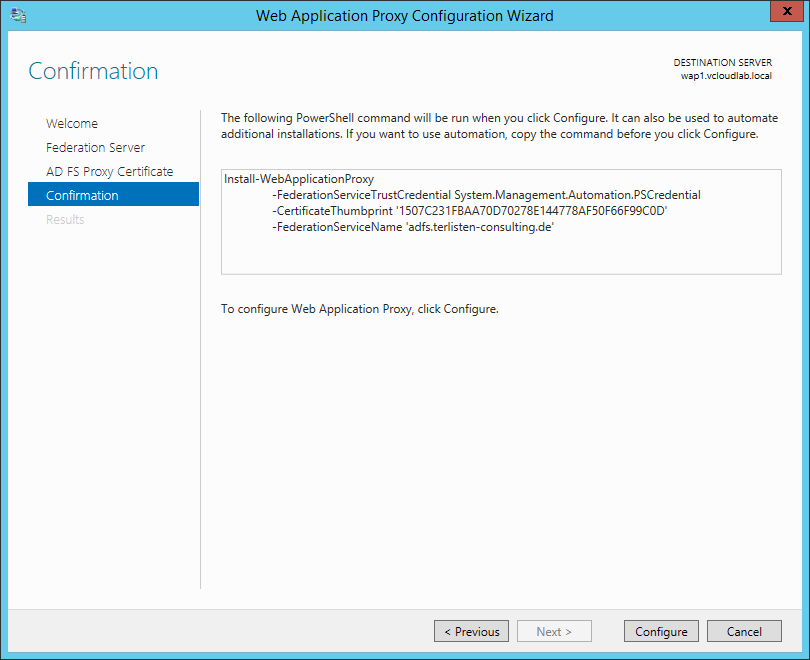
Confirm the settings and click “Configure”. At this point, the wizard executes the shown PowerShell command.
Patrick Terlisten/ vcloudnine.de/ Creative Commons CC0
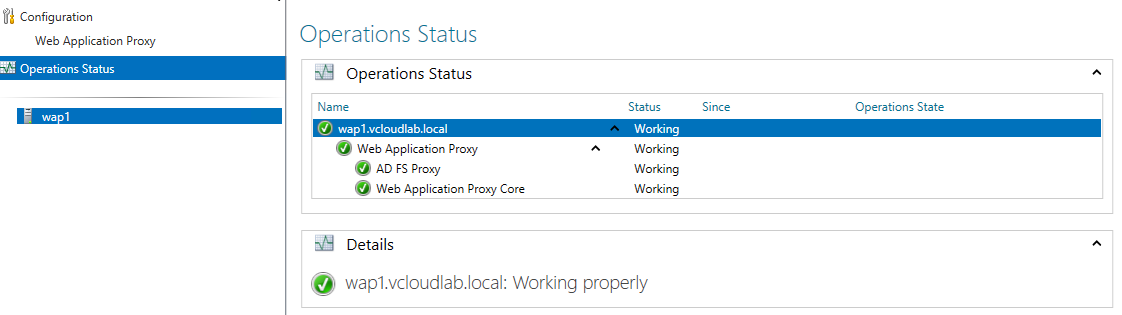
Close the wizard and open the management console of the Web Application Proxy to check the operational status. At this point, the WAP only acts as a AD FS proxy.
Patrick Terlisten/ vcloudnine.de/ Creative Commons CC0
To test the functionality, I decided to publish Outlook Web Access (OWA). Use the “Publish New Application Wizard” to publish a new application.

Patrick Terlisten/ vcloudnine.de/ Creative Commons CC0
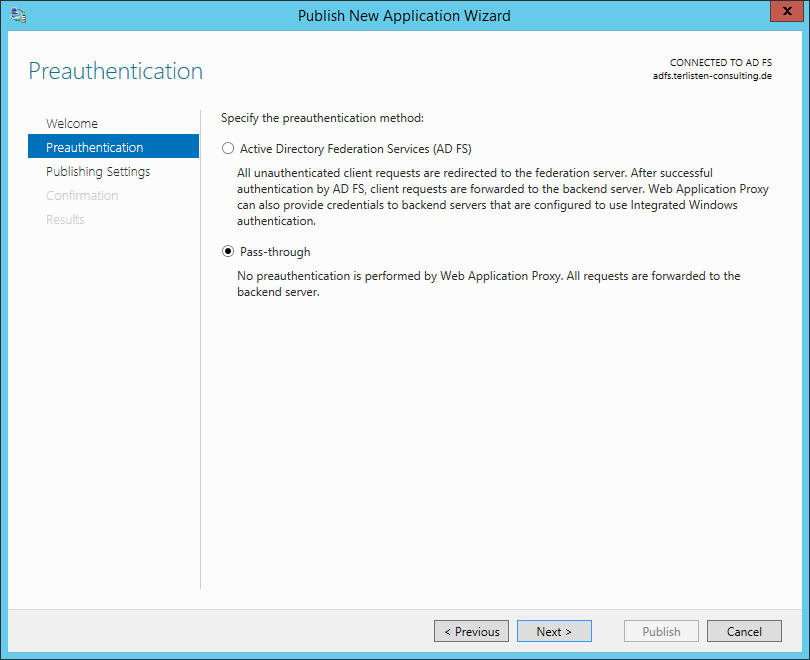
To publish OWA, select “Pass-through” as pre-authentication method.
Patrick Terlisten/ vcloudnine.de/ Creative Commons CC0
Now it’s getting interesting. When you enter the external URL, the backend server URL is automatically filled. External and Backend URL have to be the same URL. Because of this, you need split DNS (see “Configure the Web Application Proxy Infrastructure” and “AD FS Requirements” at the Microsoft TechNet Library). You also need a valid external certificate, that matches the FQDN used in the external URL.
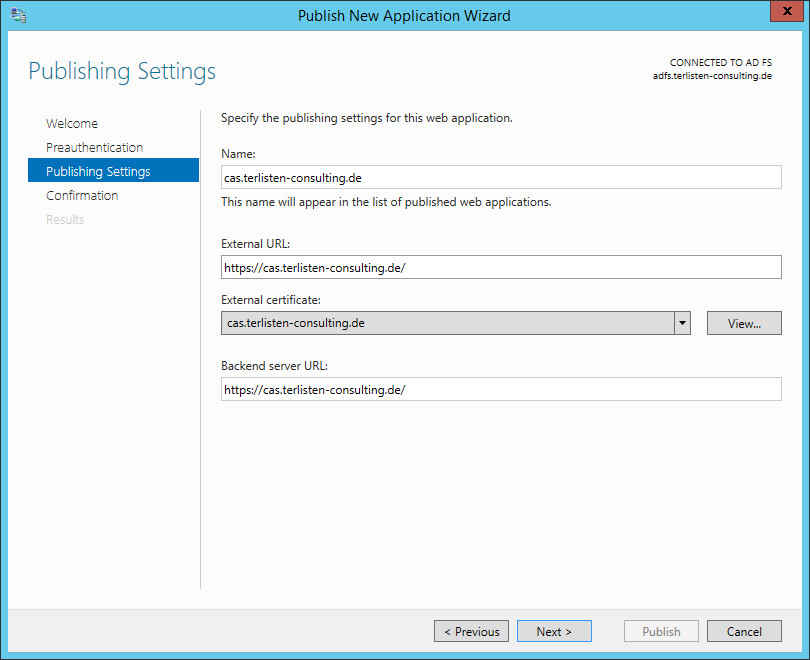
Patrick Terlisten/ vcloudnine.de/ Creative Commons CC0
Check the settings and click “Publish”. The wizard executes the shown PowerShell command.
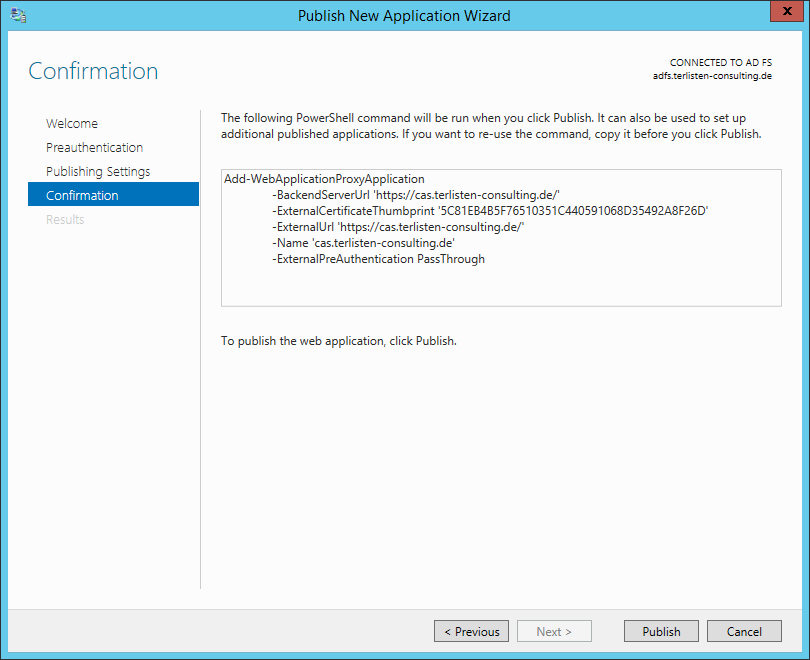
Patrick Terlisten/ vcloudnine.de/ Creative Commons CC0
Close the wizard and check the functionality of the published application. This screenshot shows the access to OWA from one of my management VMs (MGMTWKS1):
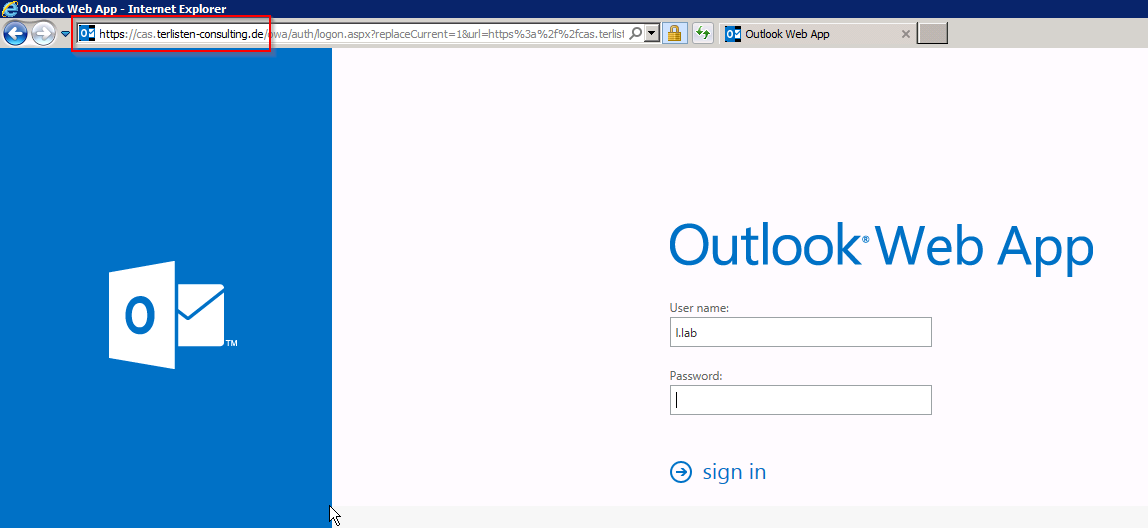
Patrick Terlisten/ vcloudnine.de/ Creative Commons CC0
This drawing shows my lab setup. I’ve used two subnets (192.168.200.64/27 and 192.168.200.96/27) to simulate internal and external access, as well as split DNS.

Patrick Terlisten/ vcloudnine.de/ Creative Commons CC0
The host dc.vcloudlab.local (192.168.200.97) has the AD FS role installed and resolves cas.terlisten-consulting.de to 192.168.200.103 (HAProxy). MGMTWKS1 resolves the same FQDN to 192.168.200.109 (WAP1 - my WAP server).
Final words
This is only a very, very basic setup and I deployed it in my lab. The installation was not very difficult and I was quickly able to set up a working environment. Before you start to deploy AD FS/ WAP, I recommend to take a look into the TechNet Library: