
Deploying Windows Server VMs with Microsoft Deployment Toolkit 2013 – Part III
In part I and part II of this series I showed how to install the WDS role, MDT 2013 and ADK for Windows 8.1. I showed the process to import the OS images and the necessary drivers for our deployment. Now it’s time to bring MDT to life. Let’s start with part III of this series.
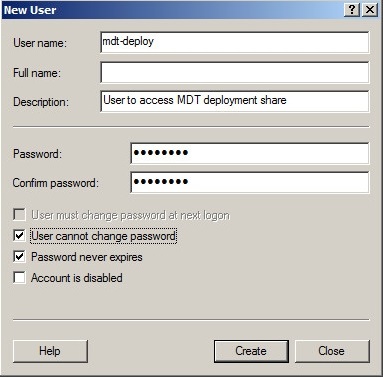
User for deployment share access
During the deployment process Windows PE needs access to the deployment share. For this, we need to create a user account that has the priviledges to access the deployment share. You can simply create a local user on your MDT server.
Patrick Terlisten/ vcloudnine.de/ Creative Commons CC0
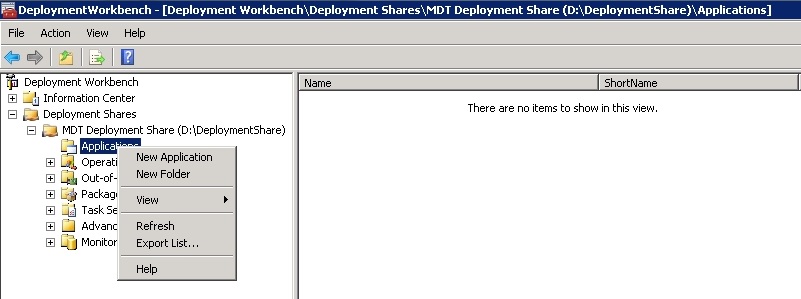
VMware Tools package
Before we can install the VMware Tools during the deployment, we have to build a package. Building a package is nothing more than adding the source files to the deployment share and providing a command line for the unattended installation. Right click the menu item “Application” and choose “New Application” from the context menu.
Patrick Terlisten/ vcloudnine.de/ Creative Commons CC0
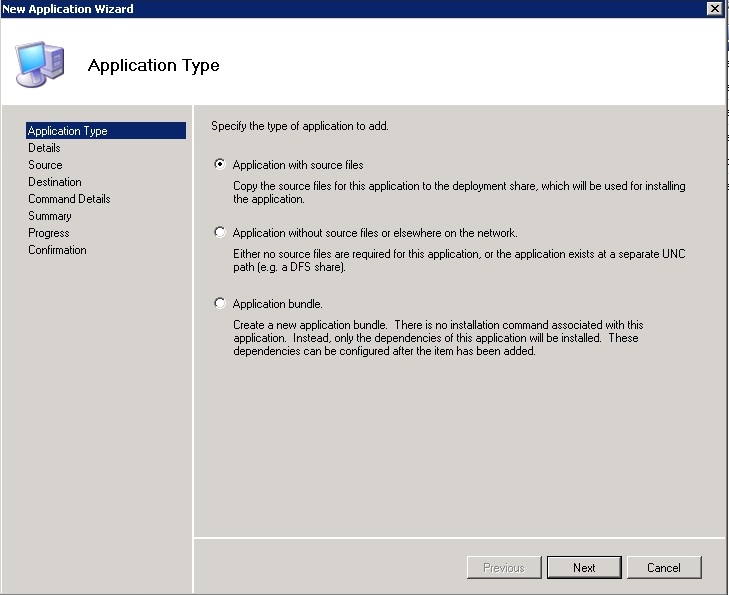
In the “New Application Wizard” select the first menu item “Application with source files”.
Patrick Terlisten/ vcloudnine.de/ Creative Commons CC0
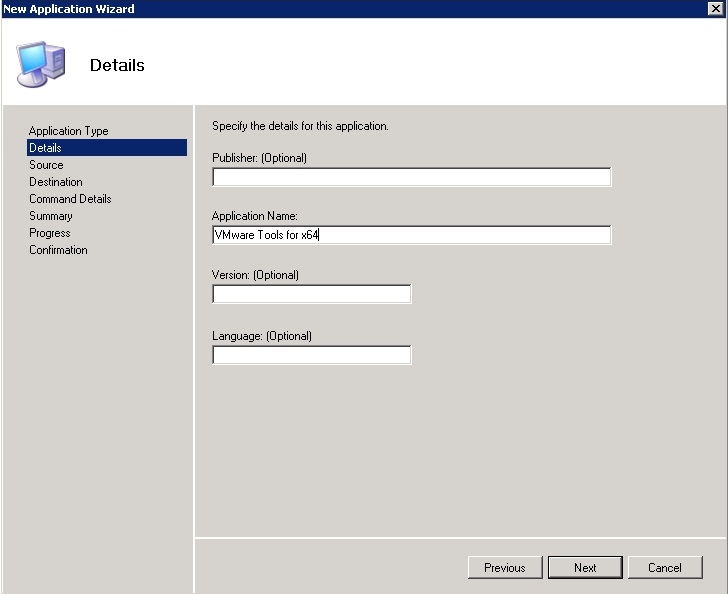
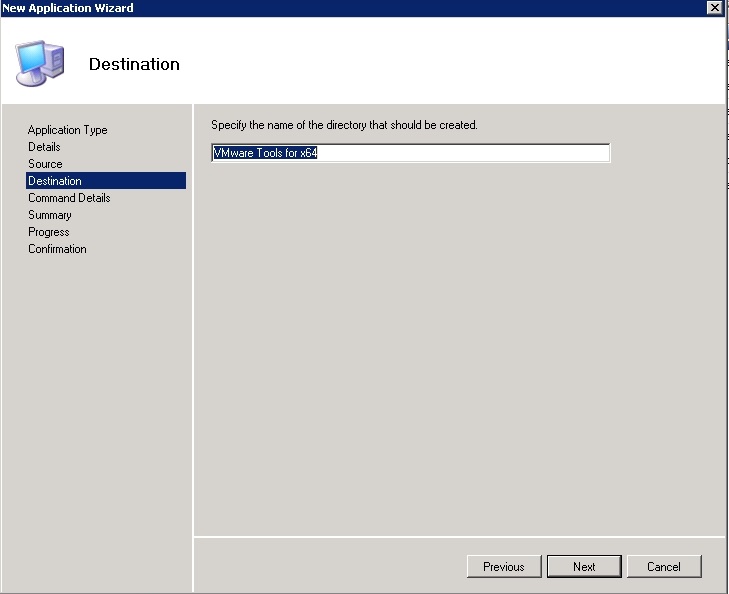
After clicking “Next” we need to provde a publisher (optional) and a name for the application. Because we need the 64-bit version, we add this to the application name.
Patrick Terlisten/ vcloudnine.de/ Creative Commons CC0
Now we need access to the VMware Tools sources. This can be the extracted or mounted VMware Tools ISO. In my case I pointed to the mounted ISO.

Patrick Terlisten/ vcloudnine.de/ Creative Commons CC0
The name is automatically generated from the publisher and application name.
Patrick Terlisten/ vcloudnine.de/ Creative Commons CC0
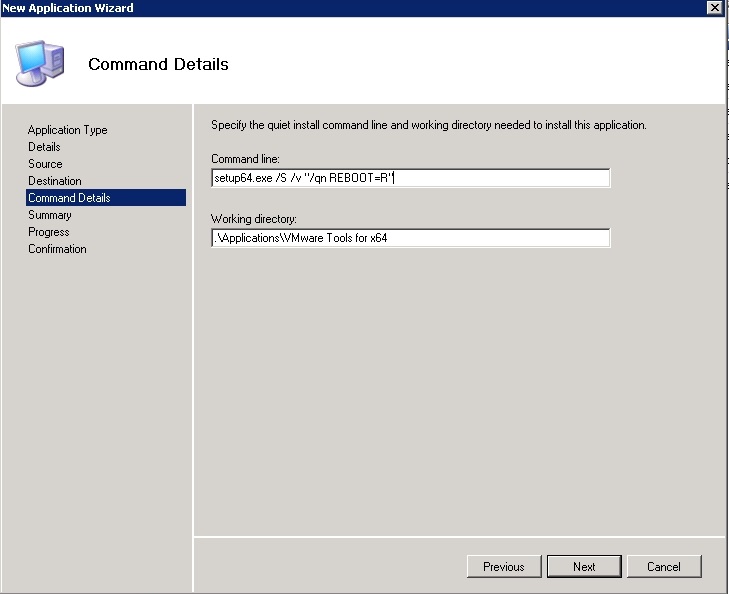
Now we have to provide the command line for the installation. The necessary command line can be found in KB1018377.
setup64.exe /S /v"/qn REBOOT=R"
The switch REBOOT=R suppress the reboot. The reboot is triggered by MDT. We will enable this in the properties of the application.
Patrick Terlisten/ vcloudnine.de/ Creative Commons CC0
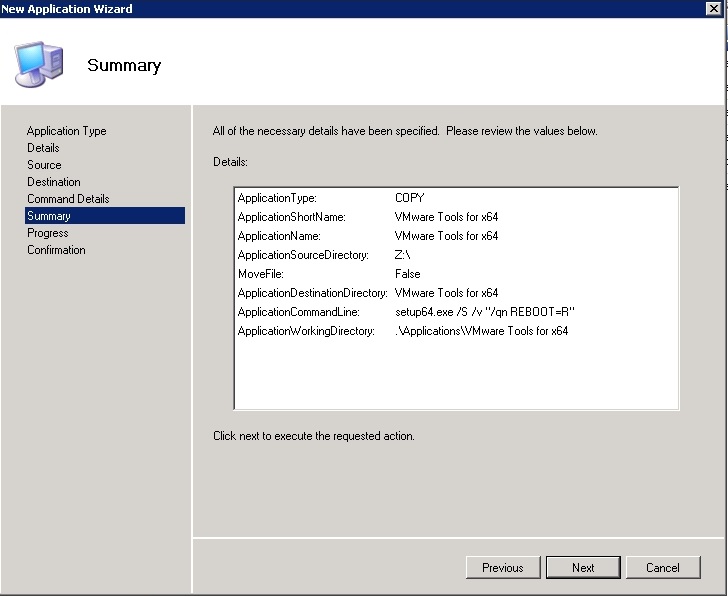
Go through the summary and click “Next”.
Patrick Terlisten/ vcloudnine.de/ Creative Commons CC0
At the end just click “Finish”.

Patrick Terlisten/ vcloudnine.de/ Creative Commons CC0
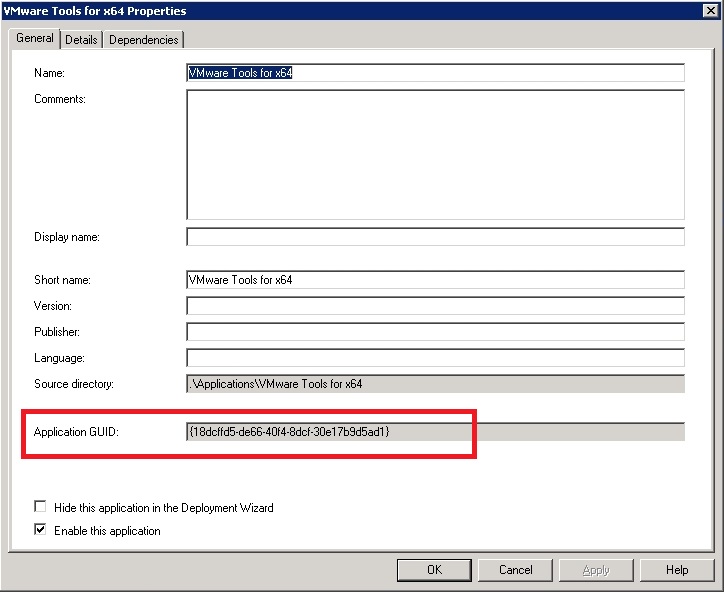
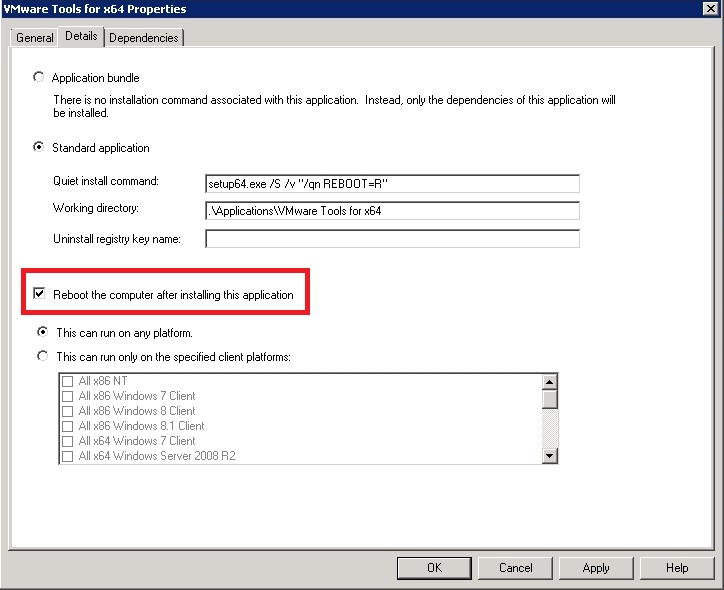
Enter the properties of the application and take a look at application GUID. You can use the GUID and add it to the CustomerSettings.ini. Then the application will installed during every deployment, regardless of the OS. We will use another way: We use the task sequence to install the application.
Patrick Terlisten/ vcloudnine.de/ Creative Commons CC0
On the “Details” tab enable the reboot after the installation of the application.
Patrick Terlisten/ vcloudnine.de/ Creative Commons CC0
Congratulations. You’ve just created your first application package with MDT. :)
General settings
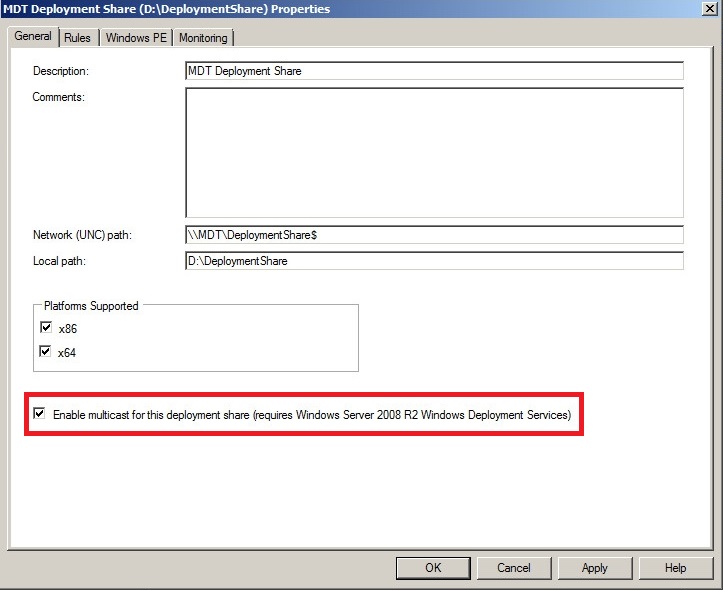
Open the Deployment Workbench and right click the deployment share. Select “Properties”. On the “General” tab enable multicast for this deployment share.
Patrick Terlisten/ vcloudnine.de/ Creative Commons CC0
Switch to the “Rules” tab. You will see the content of the CustomSettings.ini, which can be found in the Control directory on the deployment share, e.g. D:\DeploymentShare\Control. The CustomSettings.ini is used to control the deployment. It controls which settings used by the deployment wizard. This is the content of my CustomerSettings.ini.
[Settings]
Priority=Default
Properties=MyCustomProperty

[Default]
OSInstall=YES
SkipCapture=YES
SkipAdminPassword=YES
SkipProductKey=YES
SkipComputerBackup=YES
SkipBitLocker=YES
SkipLocaleSelection=YES
SkipTimeZone=YES
SkipComputerName=YES
SkipDomainMembership=YES
SkipApplications=YES
SkipSummary=YES
SkipFinalSummary=YES
UserLocale=de-de
SystemLocal=de-de
InputLocale=de-de
KeyboardLocale=0407:00000407
TimeZone=110
TimeZoneName=W. Europe Standard Time
DeploymentType=NEWCOMPUTER
JoinWorkgroup=VCLOUD
FinishAction=REBOOT
The settings will skip all wizards, set the time zone, language settings etc.
There’s another button: “Edit Bootstrap.ini”. The bootstrap.ini contains the information how to access the deployment share, e.g. user credentials or IP settings. We need to add the credentials of our newly created user to the bootstrap.ini. Because it’s a local user, the domain is set to the computername of the MDT server.
[Settings]
Priority=Default

[Default]
SkipBDDWelcome=YES
DeployRoot=\\MDT\DeploymentShare$
UserDomain=MDT
UserID=mdt-deploy
UserPassword=Passw0rd
Creating a Task Sequence
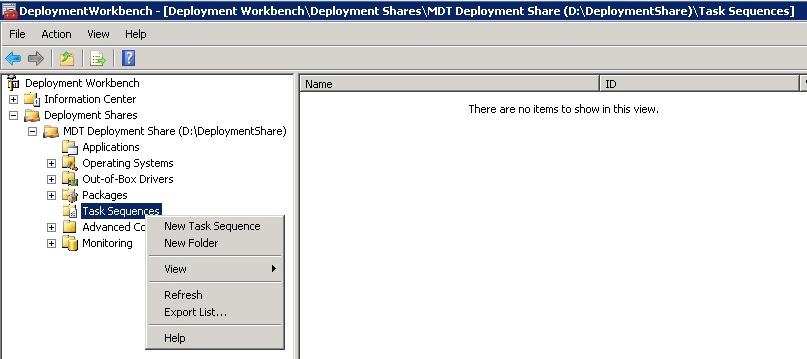
A task sequence provides the mechanism for performing multiple steps or tasks on a computer without requiring user intervention. Right click “Task Sequence” in the Deployment Workbench and select “New Task Sequence” from the context menu.
Patrick Terlisten/ vcloudnine.de/ Creative Commons CC0
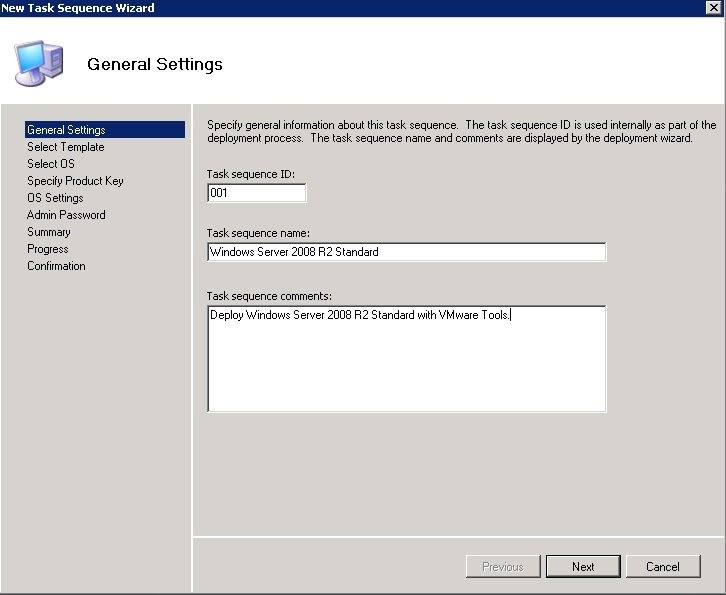
Enter a sequence ID, a descriptive name and, if you like, a comment.
Patrick Terlisten/ vcloudnine.de/ Creative Commons CC0
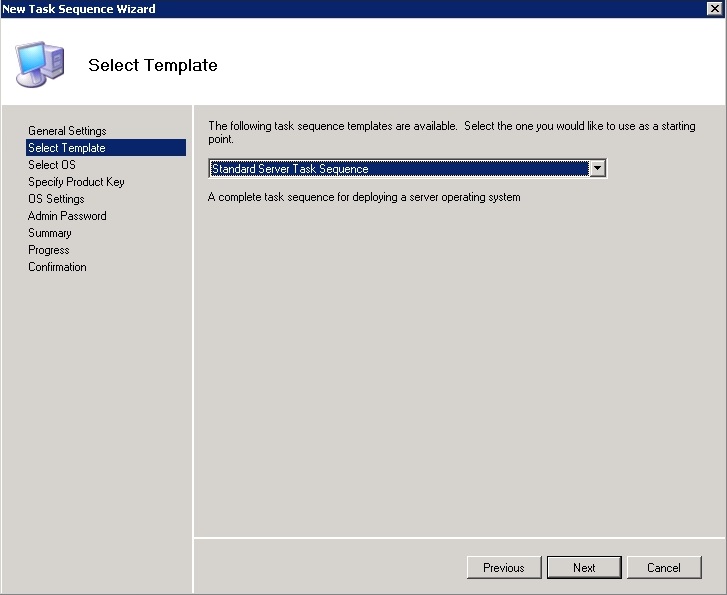
We have to use the “Standard Server Task Sequence” template.
Patrick Terlisten/ vcloudnine.de/ Creative Commons CC0
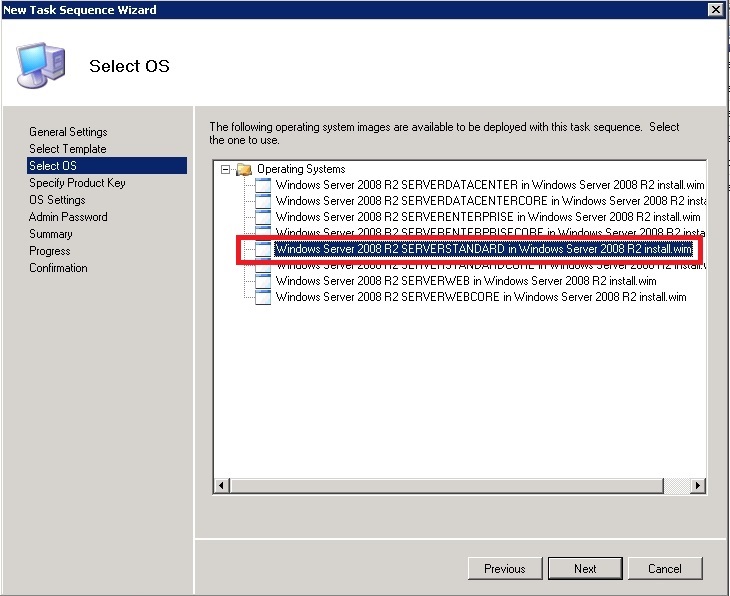
Now we need to select an OS image. Because we want to deploy a Windows Server 2008 R2 Standard, we select the appropriate image.
Patrick Terlisten/ vcloudnine.de/ Creative Commons CC0
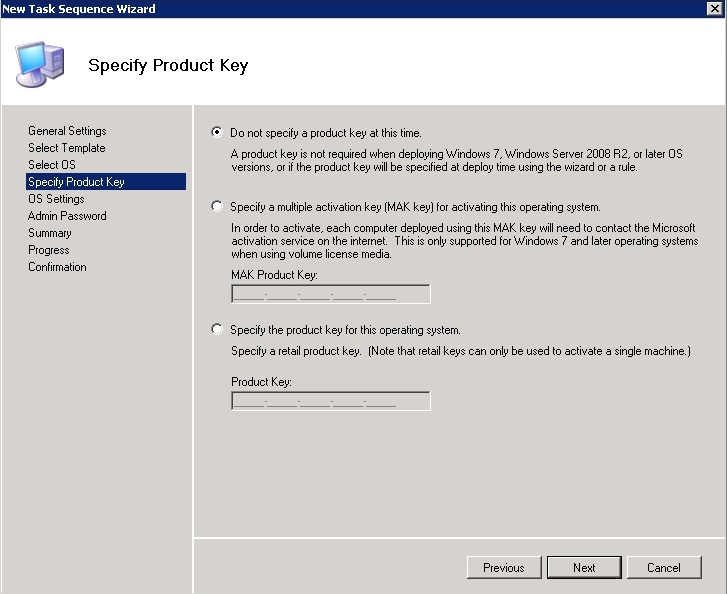
We don’t want to specify a product key now. Just hit “Next”.
Patrick Terlisten/ vcloudnine.de/ Creative Commons CC0
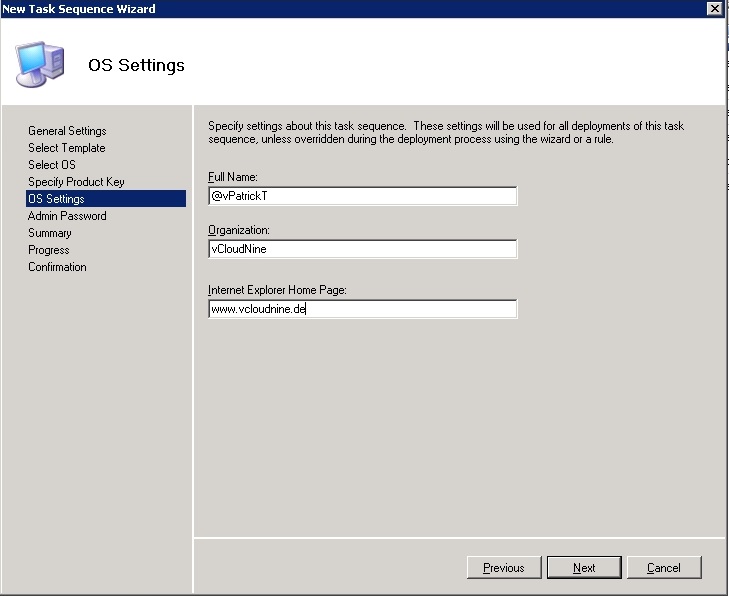
Enter full name, organization etc.
Patrick Terlisten/ vcloudnine.de/ Creative Commons CC0
Enter your incredible secret password.
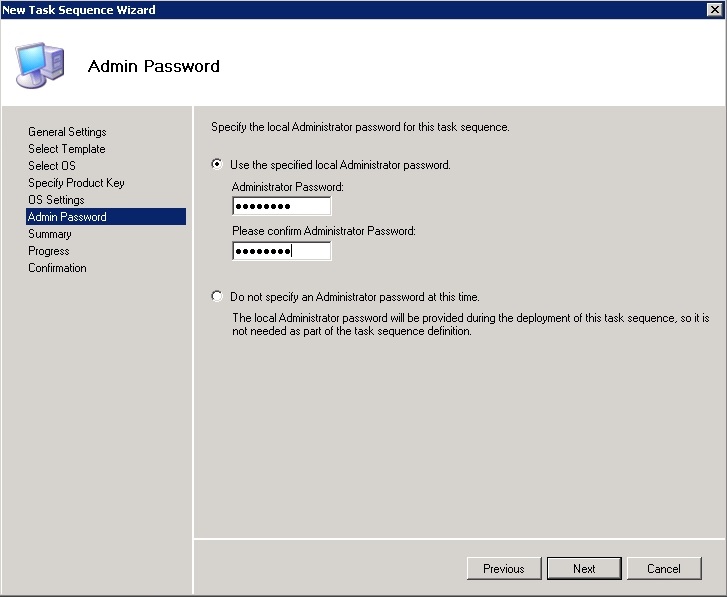
Patrick Terlisten/ vcloudnine.de/ Creative Commons CC0
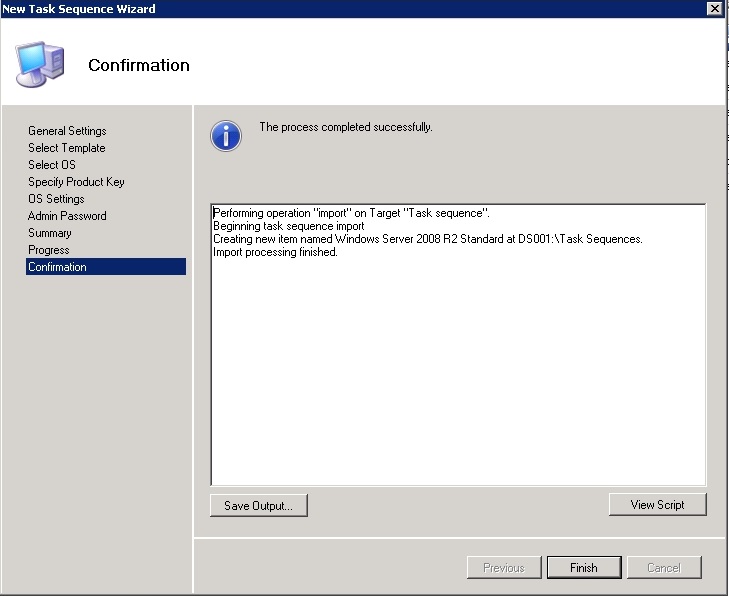
That’s it. Check the summary and click “Next”.
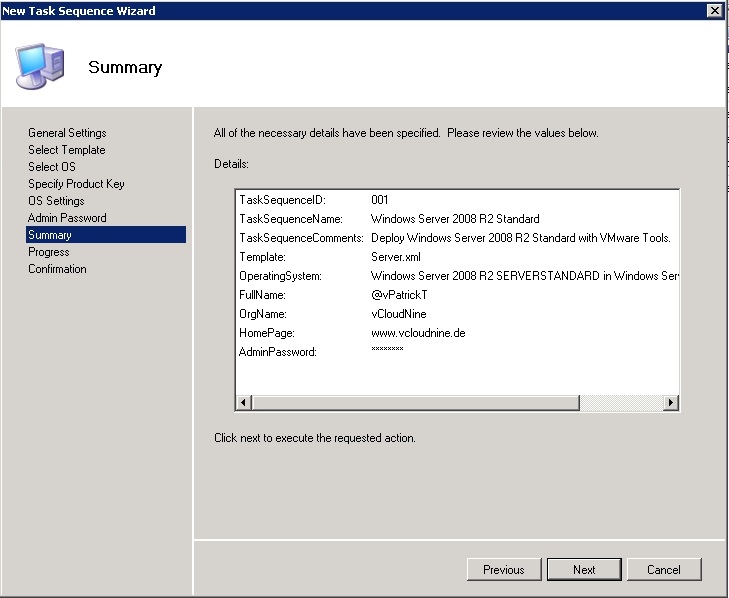
Patrick Terlisten/ vcloudnine.de/ Creative Commons CC0
Finish the dialog and go to the task sequence properties. Select the “Task Sequence” tab and choose “Install Applications”. Browse the applications and select the VMware tools application that we created earlier.
Patrick Terlisten/ vcloudnine.de/ Creative Commons CC0
Click “OK”.
Update the deployment share
Before we can deploy our first server, we have to update the deployment share. During this process, the boot images are build and the applications are created on the deployment share. Right click the deployment share in the Deployment Workbench and select “Update Deployment Share”.

Patrick Terlisten/ vcloudnine.de/ Creative Commons CC0
Simply follow the wizard.
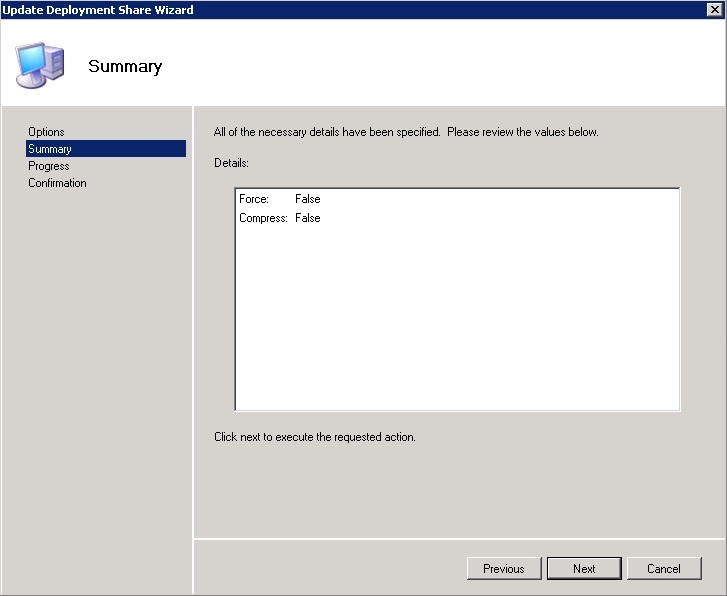
Patrick Terlisten/ vcloudnine.de/ Creative Commons CC0
Click “Next” and finish the dialog.
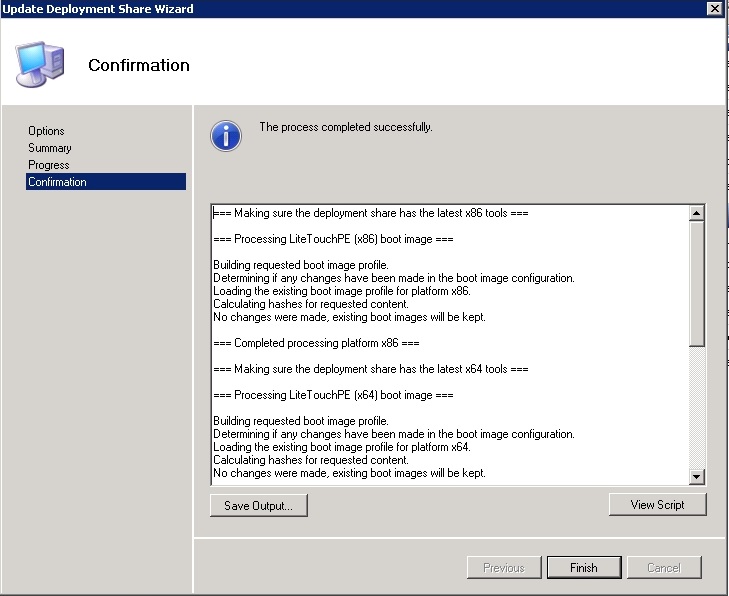
Patrick Terlisten/ vcloudnine.de/ Creative Commons CC0
Adding boot images to Windows Deployment Service (WDS)
Now we can add the Windows PE images to the WDS. Start the server manager or start the MMC. Right click “Boot Images” and then “Add Boot Image…”.
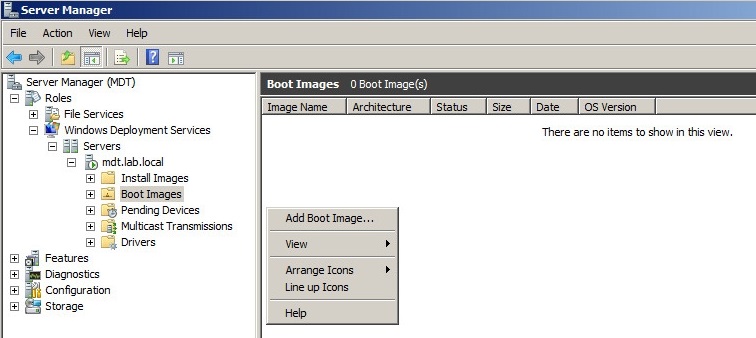
Patrick Terlisten/ vcloudnine.de/ Creative Commons CC0
Choose the image you want to import. There are two images: A 64-bit and a 32-bit image.
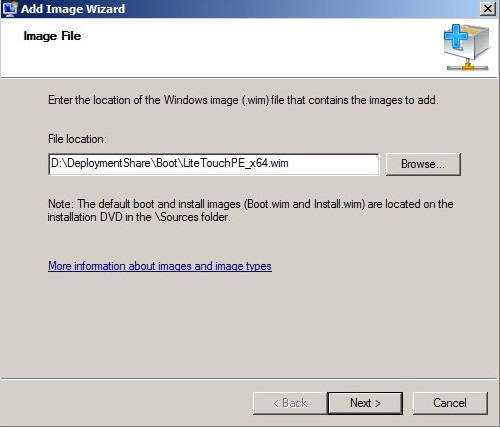
Patrick Terlisten/ vcloudnine.de/ Creative Commons CC0
Simply accept the default name.
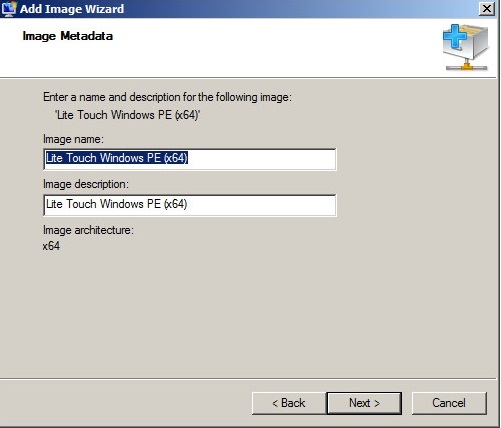
Patrick Terlisten/ vcloudnine.de/ Creative Commons CC0
Go through the summary and click “Next”.
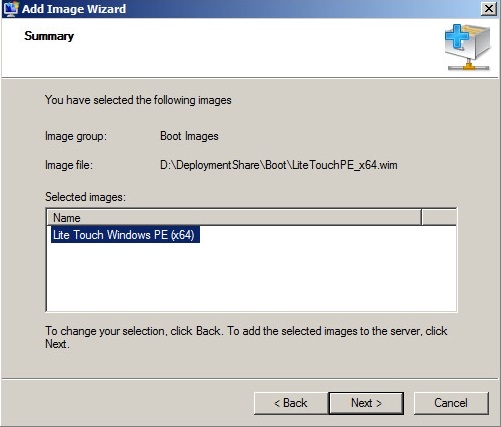
Patrick Terlisten/ vcloudnine.de/ Creative Commons CC0
Finish the dialog and repeat it, if necessary, for the 32-bit image.
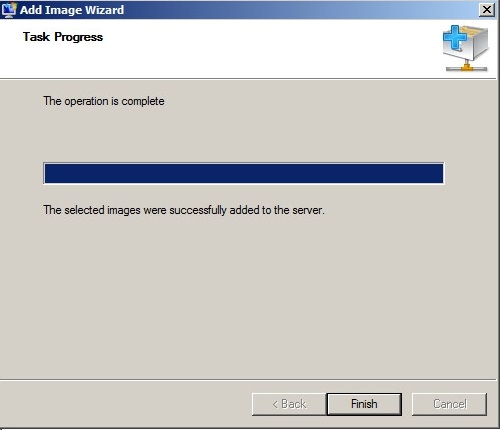
Patrick Terlisten/ vcloudnine.de/ Creative Commons CC0
The deployment
Create a new VM. I used a standard W2K8 R2 VM with 1 vCPU, 4 GB RAM, VMXNET3 NIC and VMware paravirtual SCSI controller for my tests.. Start the VM. Usually the boot process goes directly into the PXE boot screen, because no OS is installed. Wait for the DHCP response and press F12 if offered. Choose the x64 Windows PE enviroment. Now the boot images is transferred from the WDS server.
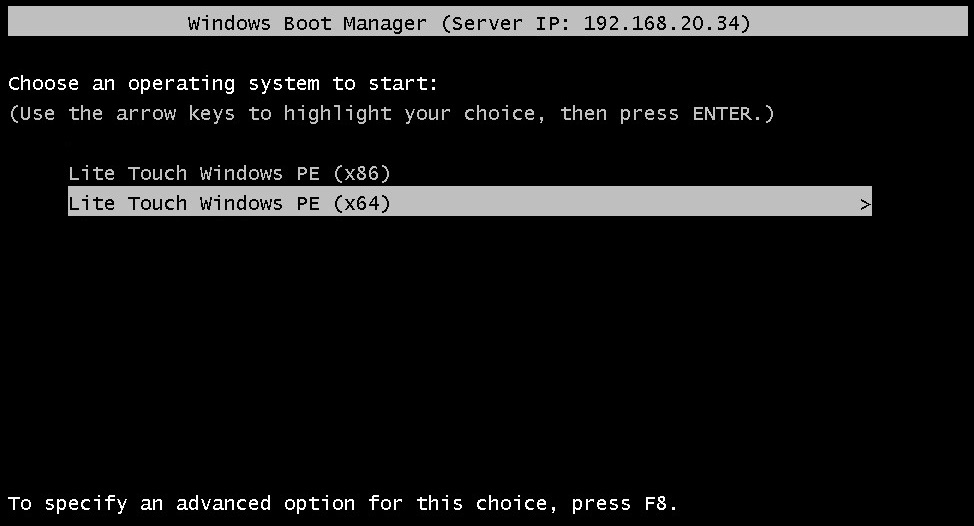
Patrick Terlisten/ vcloudnine.de/ Creative Commons CC0
Because we skipped most of the wizards during the deployment wizard, we only need to chosse a task sequence. Select the W2K8 R2 Standard sequence and start the deployment.
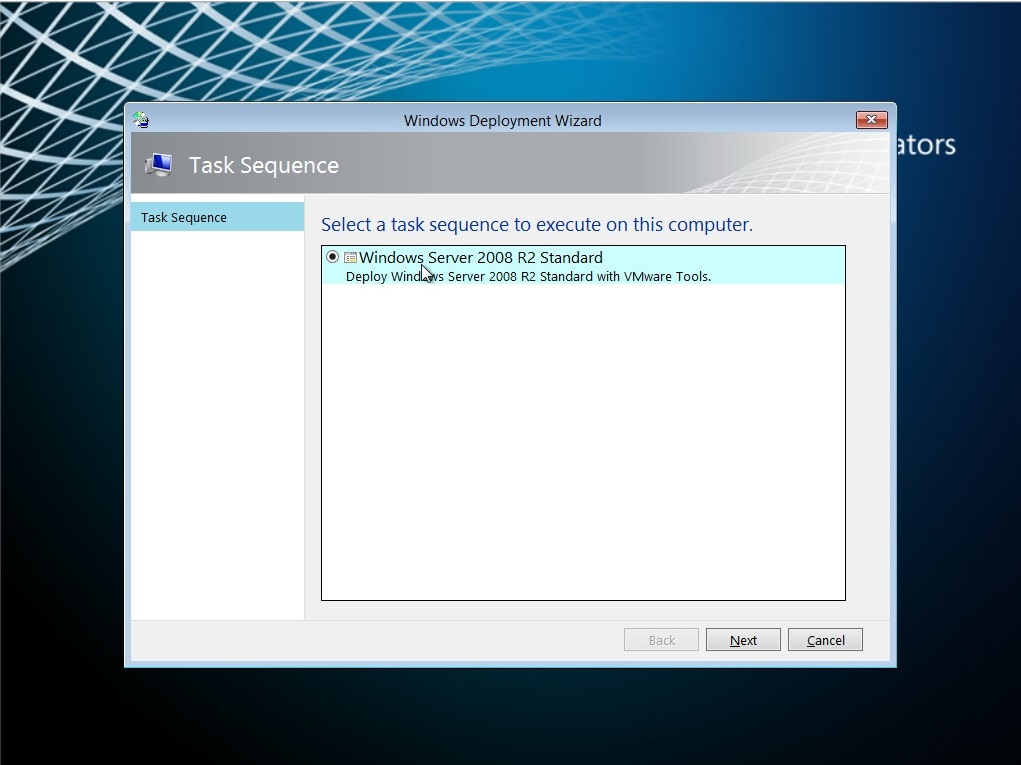
Patrick Terlisten/ vcloudnine.de/ Creative Commons CC0
In the WDS MMC you can watch the transmission process of the image.
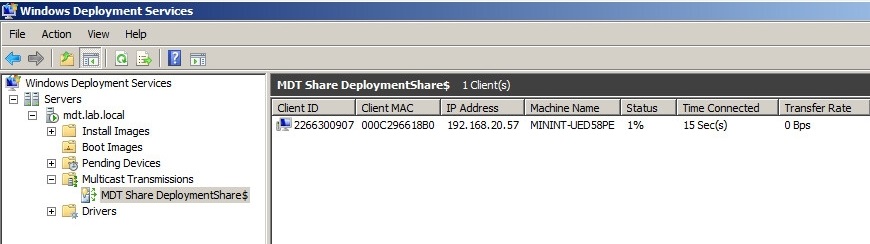
Patrick Terlisten/ vcloudnine.de/ Creative Commons CC0
After several reboots you should see a shiny new W2K8 R2 standard VM with VMware Tools. The whole deployment from the start of the VM until the VM is ready to use took on my HP Micro Server round about 15 minutes.
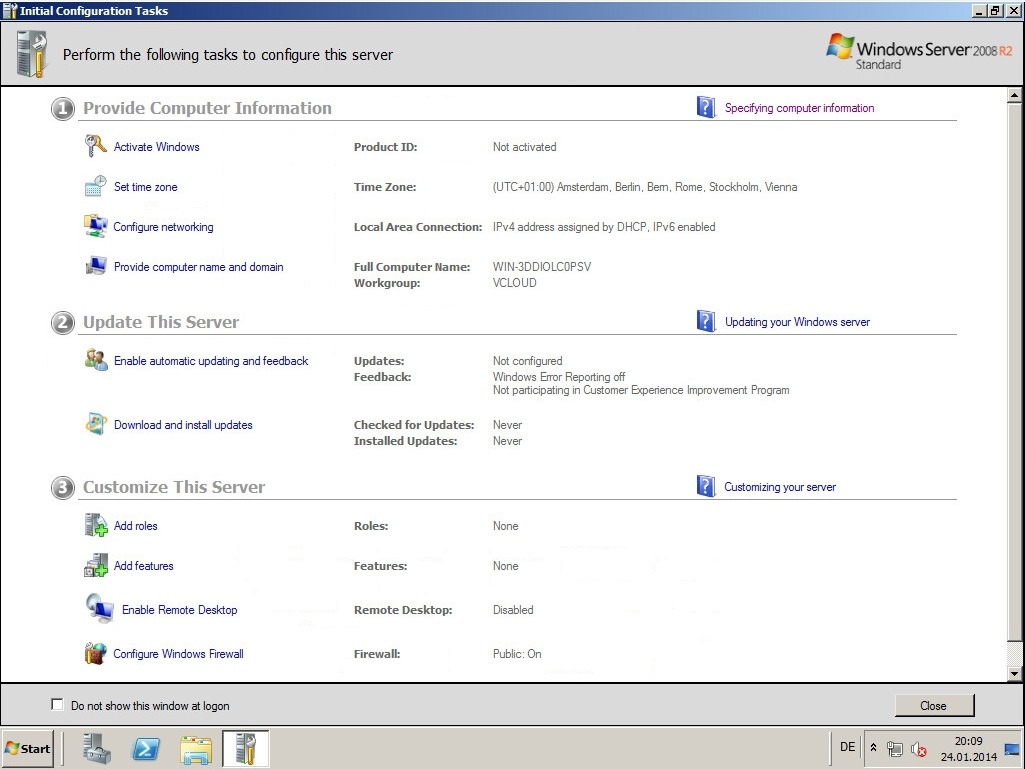
Patrick Terlisten/ vcloudnine.de/ Creative Commons CC0
If you have any further questions, just leave a comment.