
Protection of virtual machines with HP StoreOnce VSA & Veeam Backup & Replication v7
HP StoreOnce Appliances or VSA offers three different types of backup destinations:
- Virtual Tape Library (VTL)
- NAS (CIFS or NFS)
- StoreOnce Catalyst
If you use Veeam Backup & Replication, the NAS feature is possibly worth a try. Using the NAS feature, the StoreOnce appliance or VSA offers a CIFS or NFS share, which can be used as a backup destionation. Today I want to show you how you can use a NAS share of a StoreOnce VSA with Veeam Backup & Replication.To backup virtual maschines with Veeam Backup & Replication to a HP StoreOnce VSA you need at least three things:
- a HP StoreOnce VSA
- a backup server with Veeam Backup & Replication
- at least one VM
I have built such an environment in my lab. I described the process how to get and deploy StoreOnceVSA in this article. I will not cover the installation of Veeam Backup & Replication, because this is really easy. This article only covers the configuration of the StoreOnce VSA in terms of the backup of VMs, the configuration of a Veeam backup job as well as some backup tests.
Configure StoreOnce VSA
The first step is the configuration of a NAS share. To do so, login into the StoreOnce Management Console. If you haven’t changed the default login credentials, you can login with:
Username: Admin Password: admin
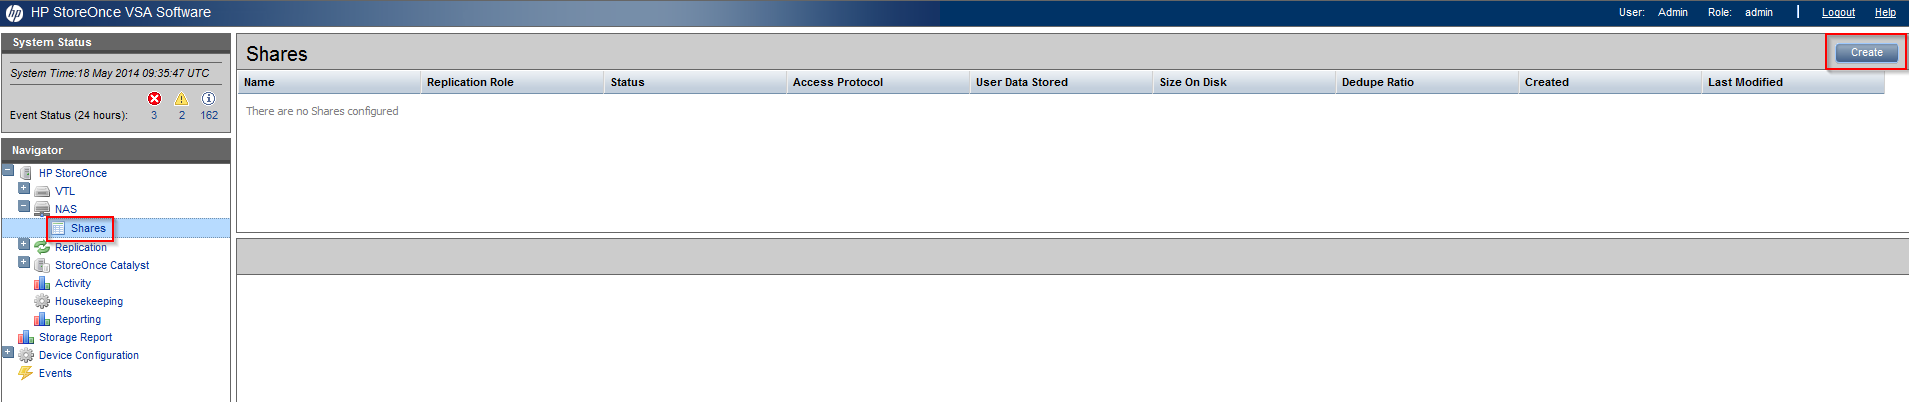
Click on “NAS” and then on “Shares”. Click “Create” on the upper-right.
Patrick Terlisten/ vcloudnine.de/ Creative Commons CC0
Name your CIFS share. Click on “Create”. If you like you can enable authentication, so that you must provide a username and password to access the share. You can enable this option under “NAS”. By this the configuration of the StoreOnce VSA has finished.

Patrick Terlisten/ vcloudnine.de/ Creative Commons CC0
Configure Veeam Repository
First we need to add a new backup repository. Name the repository and click “Next”.

Patrick Terlisten/ vcloudnine.de/ Creative Commons CC0
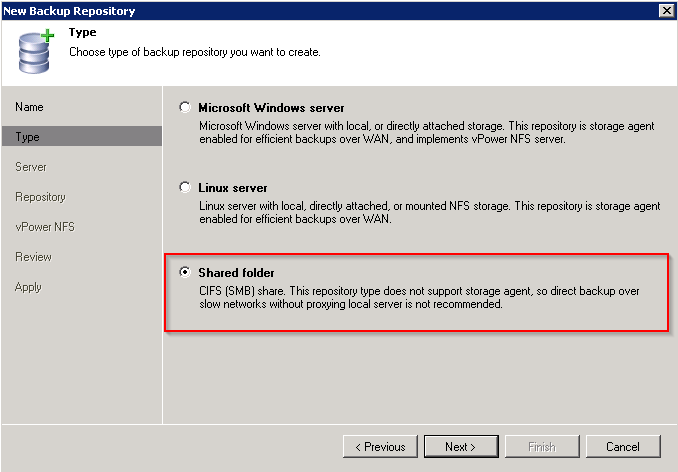
The repository type is “Shared folder”. Click “Next”.
Patrick Terlisten/ vcloudnine.de/ Creative Commons CC0
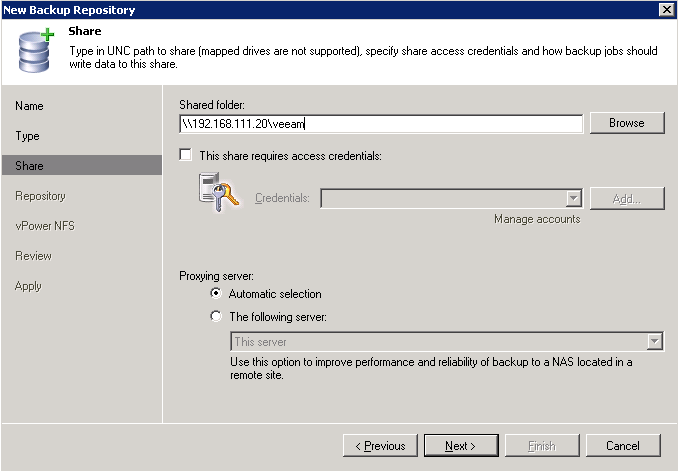
Enter the UNC path to the StoreOnce VSA share. If you have configured authentication, you need to provide credentials in ordner to access the share. Depending on your environment, you can use the IP or the FQDN.
Patrick Terlisten/ vcloudnine.de/ Creative Commons CC0
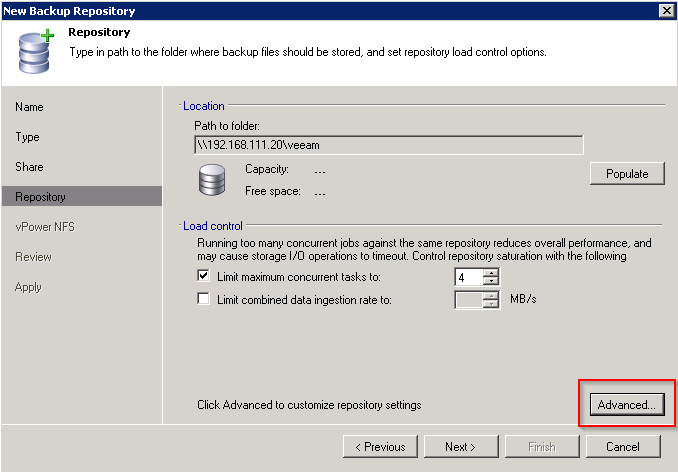
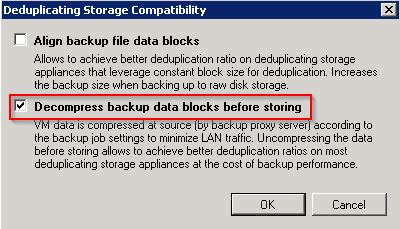
Click on “Advanced” lower-right.
Patrick Terlisten/ vcloudnine.de/ Creative Commons CC0
Compression reduces the efficiency of deduplication. So enable the checkbox “Decompress backup data bl ocks before storing”. This ensures that the data blocks are decompressed before written to the StoreOnce VSA.
Patrick Terlisten/ vcloudnine.de/ Creative Commons CC0
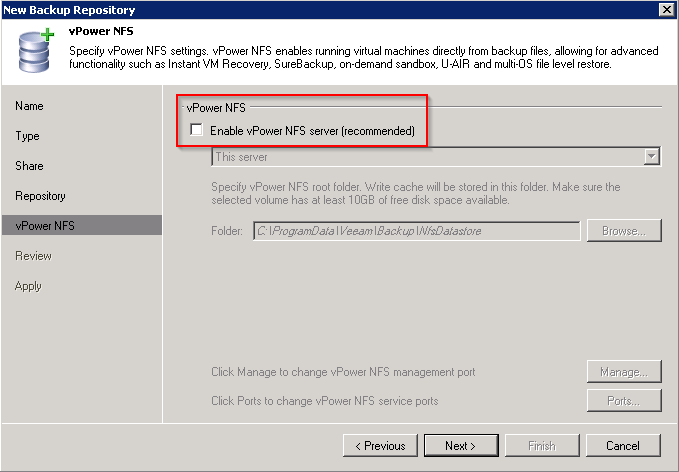
I have disabled the vPower NFS. Depending on your needs you can leave this option enabled.
Patrick Terlisten/ vcloudnine.de/ Creative Commons CC0
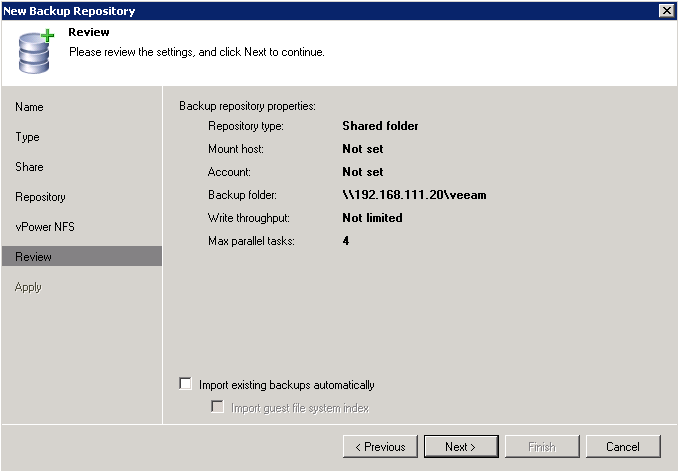
Check the made settings and click “Next”.
Patrick Terlisten/ vcloudnine.de/ Creative Commons CC0
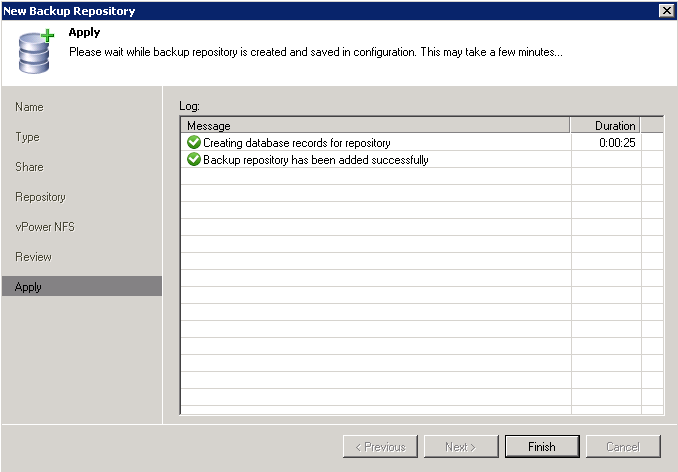
Congratulations. You now have a CIFS repository which points to your StoreOnce VSA.
Patrick Terlisten/ vcloudnine.de/ Creative Commons CC0
Configure a backup job
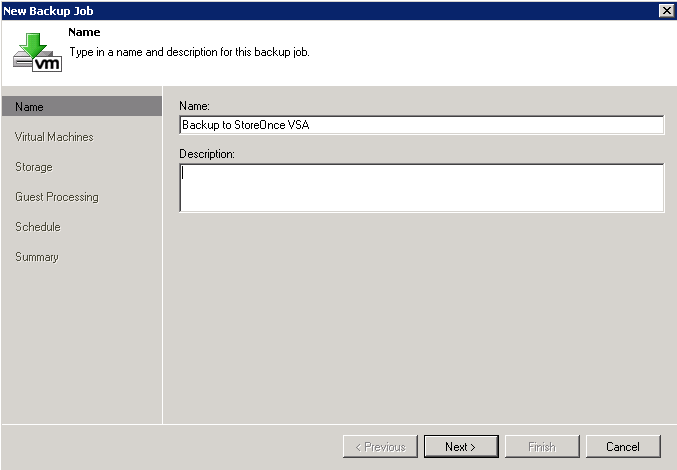
Now it’s time to create a backup job. Create a new job and give it a name. Click “Next”.
Patrick Terlisten/ vcloudnine.de/ Creative Commons CC0
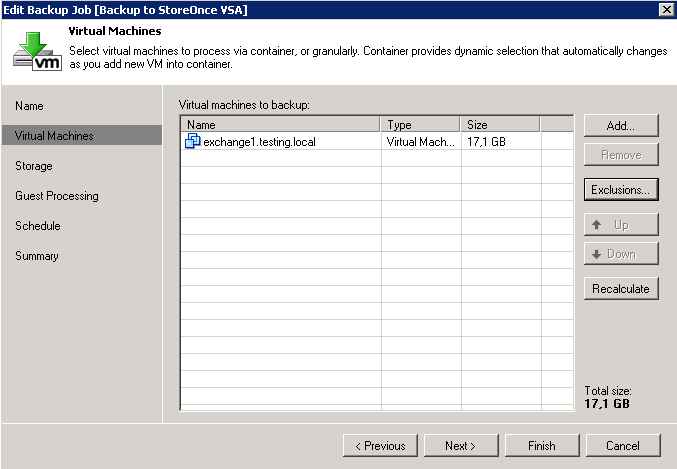
Add the backup objects. This can be for example a cluster, a host, vApps or one or more VMs.
Patrick Terlisten/ vcloudnine.de/ Creative Commons CC0
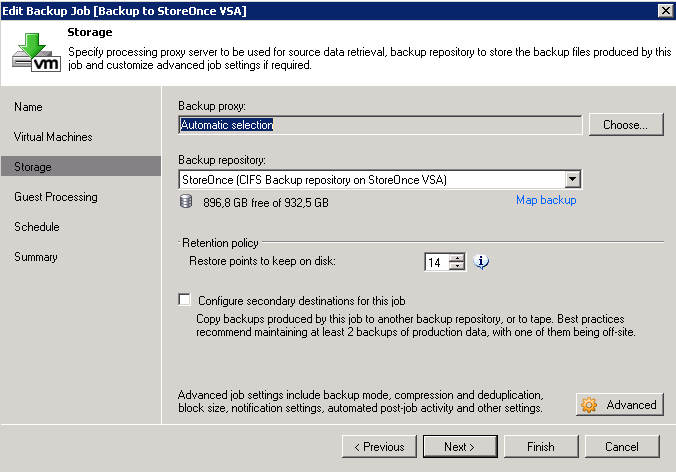
Select your newly created repository. Click on “Advanced”.
Patrick Terlisten/ vcloudnine.de/ Creative Commons CC0
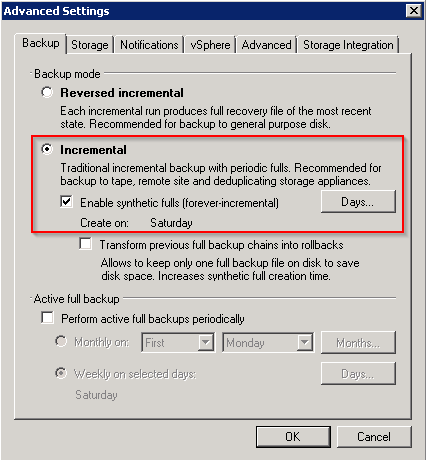
It’s recommended to use the “Incremental” backup mode when using backup appliances like HP StoreOnce or EMC Data Domain. This backup mode has a lower performance impact on the backup appliance, but it needs more disk space, because of regular full backups. This backup mode starts with a full backup and makes subsequently incremental backups, until a new full backup is created. Because the backup appliance does deduplication, additional disk space due to regular full backups doesn’t use much additional disk space.
Patrick Terlisten/ vcloudnine.de/ Creative Commons CC0
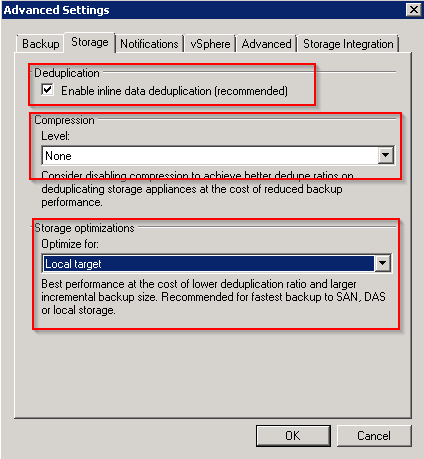
Switch to the “Storage” tab. It’s a good idea to use deduplication on the backup proxy and the backup appliance. But the deduplication should be optmized for “Local target”. Veeam uses then a block size of 1 MB. Compression should be disabled to optimizes the deduplication ratio. This will result into a higher network load!
Patrick Terlisten/ vcloudnine.de/ Creative Commons CC0
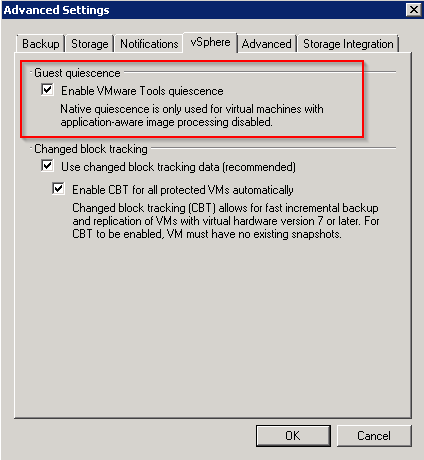
Switch to the “vSphere” tab and enable the checkbox “Enable VMware Tools quiescence”. Please note, that this does not support log truncation for applications like Exchange or SQL Server! Click “OK”, then “Next”.
Patrick Terlisten/ vcloudnine.de/ Creative Commons CC0
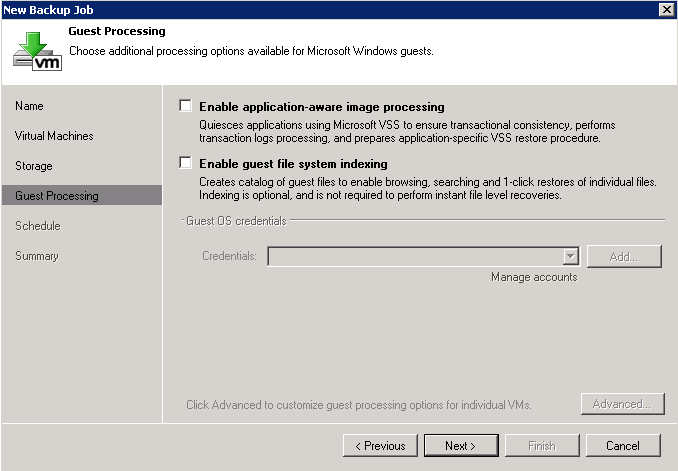
If you want to backup applications like Exchange or SQL Server, tick the “Enable application-aware image processing” checkbox. Click “Next”.
Patrick Terlisten/ vcloudnine.de/ Creative Commons CC0
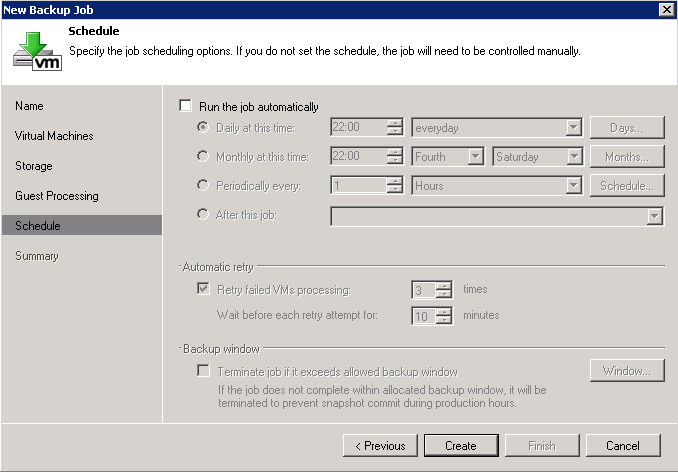
Configure the job scheduling depending on your needs. Click “Create”
Patrick Terlisten/ vcloudnine.de/ Creative Commons CC0
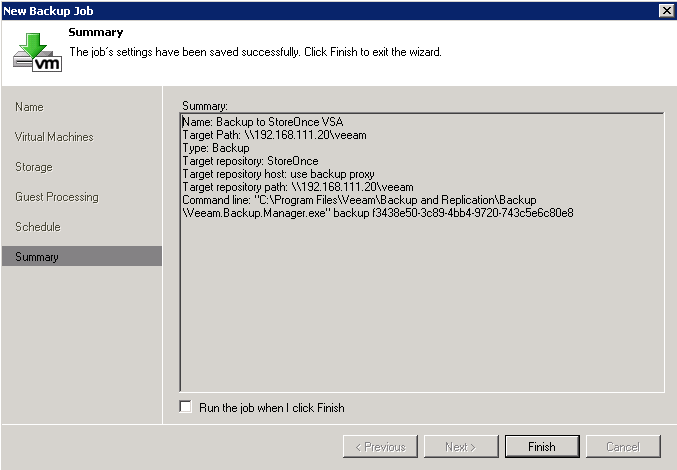
Check the summary and then click “Finish”.
Patrick Terlisten/ vcloudnine.de/ Creative Commons CC0
The job is now ready to run, either by starting the job manually or wait until the scheduled job starts.
Backup tests
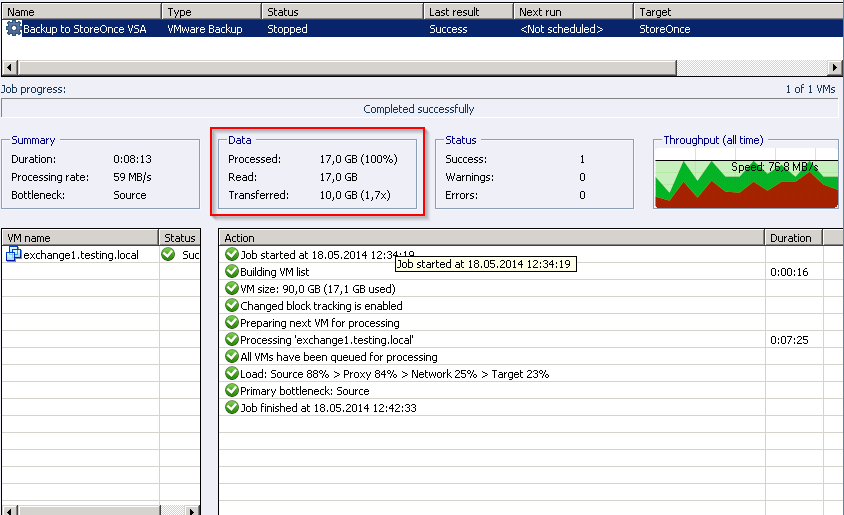
I’ve done some tests. During the first full backup, Veeam Backup & Replication processed 17 GB and transferred 10 GB.
Patrick Terlisten/ vcloudnine.de/ Creative Commons CC0
The StoreOnce VSA wrote 7,4 GB to disk.

Patrick Terlisten/ vcloudnine.de/ Creative Commons CC0
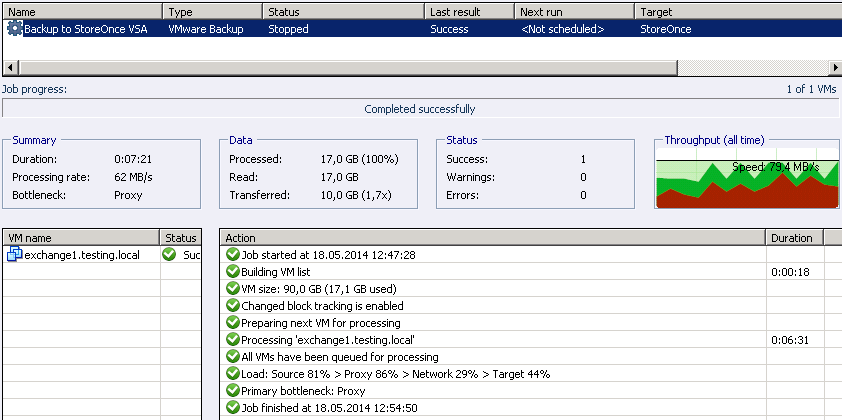
A second full backup showed similar results as the first full backup
Patrick Terlisten/ vcloudnine.de/ Creative Commons CC0
But only additional 0,2 GB were written to disk, and the deduplication ratio raised from 2.4 to 4,7.

Patrick Terlisten/ vcloudnine.de/ Creative Commons CC0
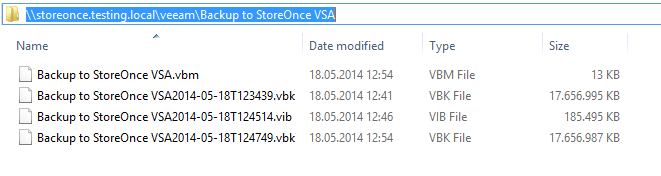
You can access the CIFS share using the Windows Explorer. You can see, that the stored files doesn’t differ from a “normal” CIFS repository.
Patrick Terlisten/ vcloudnine.de/ Creative Commons CC0
Final words
Using a HP StoreOnce VSA as CIFS repository for Veeam Backup & Replication is really easy and doesn’t need much configuration. But some points should be considered. The settings that I have used are recommended for maximizing the backup capacity and retention time. If you focus on RTO, you should consider backing up critical VMs to a physical backup proxy with local disks (or access to a fast storage system) in addition to a backup to a StoreOnce appliance or VSA. The backup and restore performance depends on the backup target (StoreOnce VSA) and the backup proxy (in my case a VM). Depending on your environment and the number of backup proxies, backup targets and repositories you have to make additional decisions.